¶ Installation
We suggest to always use the standard setup.exe instead of the MSI package if possible because the standard setup.exe takes care of prerequisites and installs them automatically for the user.
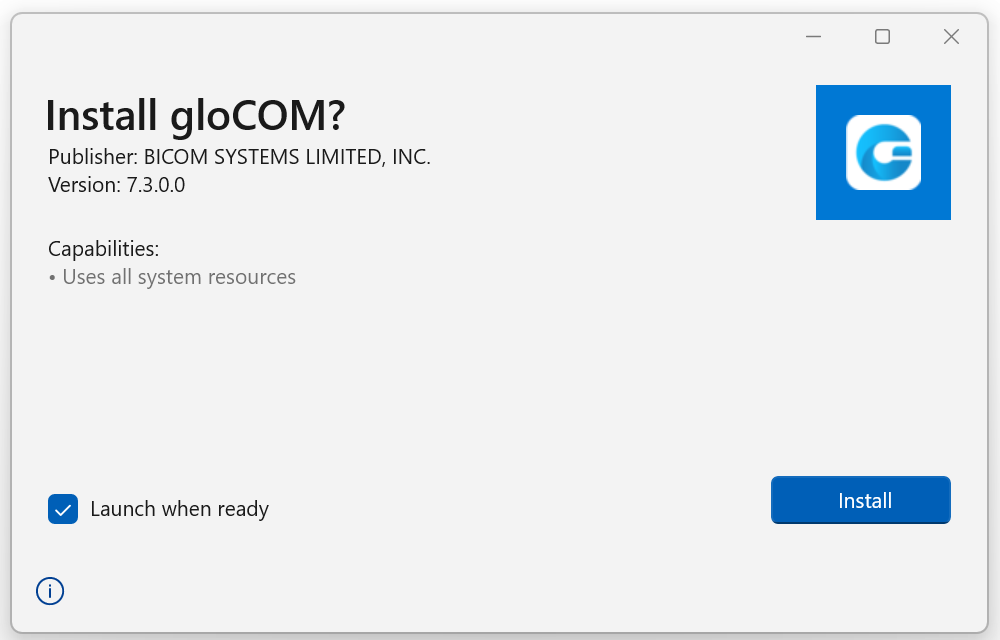
Please download gloCOM 7.6 from our official website www.bicomsystems.com. After the download is finished, click on the icon to start the installation.
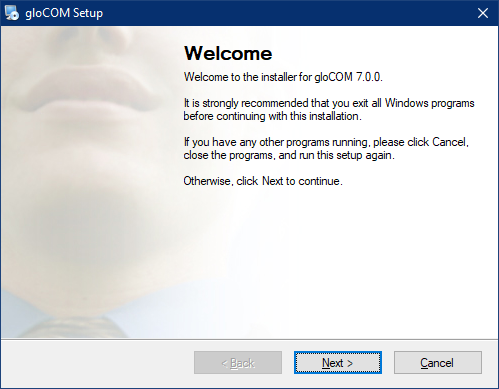
The welcome window starts the installation process. Click on the Next button to proceed with the installation or click on the Cancel button to exit the installation wizard.
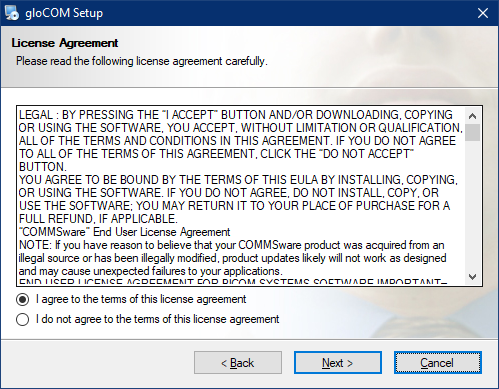
Read the license agreement and select I agree if you accept the License Agreement. Click on the Next button to proceed with the installation or click on the Cancel button to exit the installation wizard.
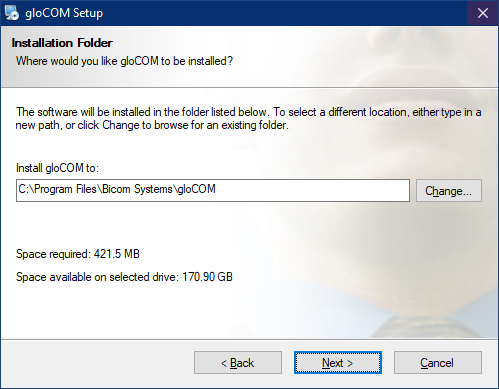
The Installation Folder window sets the default location where the gloCOM installation will reside. By default C:\Program Files\Bicom Systems\gloCOM is offered. To select a different location, click on the Change button. When done, click on the Next button to proceed with the installation or click on the Cancel button to exit the installation wizard.
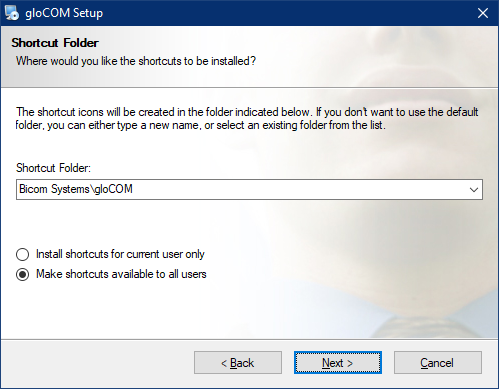
The Shortcut Folder window sets how the gloCOM shortcut will be displayed on the Windows Start menu. Select the preferred shortcut under the Shortcut Folder select box and click on the Next button to proceed with the installation, or click on the Cancel button to exit the installation wizard.
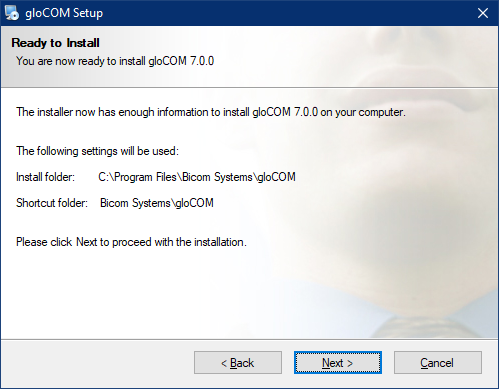
The Ready-to-Install window summarizes the Installation wizard steps and displays all of the selected options. If you agree with these, click on the Next button to proceed with the installation or click on the Cancel button to exit the installation wizard.
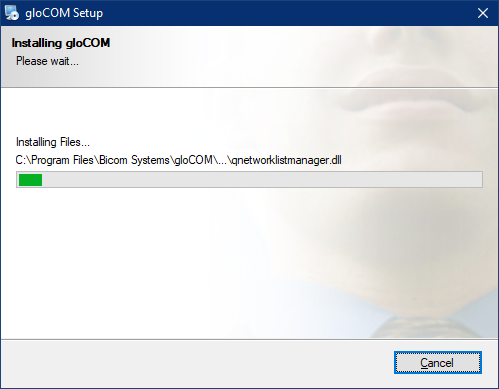
The Installing gloCOM window shows the installation in progress.
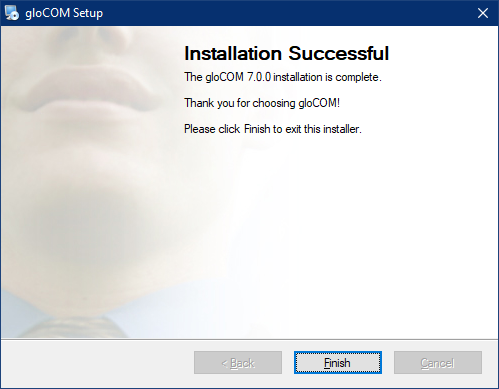
After this step, you'll see the Installation Successful window. Click on the Finish button to close the window and finish the installation.
¶ MSI package Installation
In order to install gloCOM from an MSI package, the following are the prerequisites and must be installed before MSI package :
-
Microsoft .NET Framework 4 (or above) (optional, if the user wants to use functionalities like Outlook plugin, Skype For Business integration etc...)
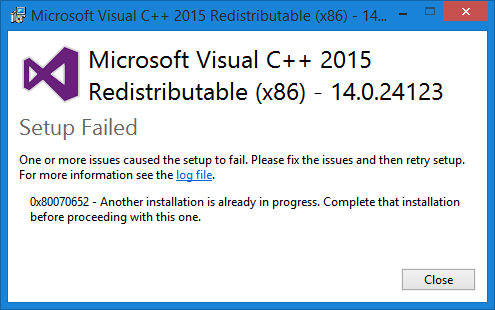
If there is no Visual C++ installed users might get installation errors.
IMPORTANT: Windows Terminal Server installation
¶ MSIX package Installation
MSIX is a modern way to install desktop apps on Windows.
The MSIX installer is very different from the exe and MSI installers. It does not allow users to choose the installation location, virtualizes registry writes, and any modifications to the installed directory.
The installed application can be found within the All apps list.
For more information, please visit MSIX package.
¶ Configuring gloCOM
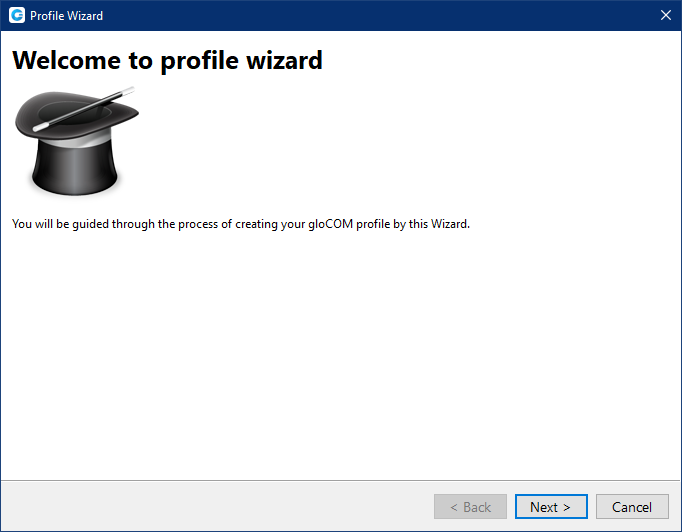
After installation, the user needs to configure the gloCOM Desktop application. Click on the gloCOM Desktop application icon, and the Profile Wizard window will appear. It will ask the user to create a gloCOM profile in order to use the app.
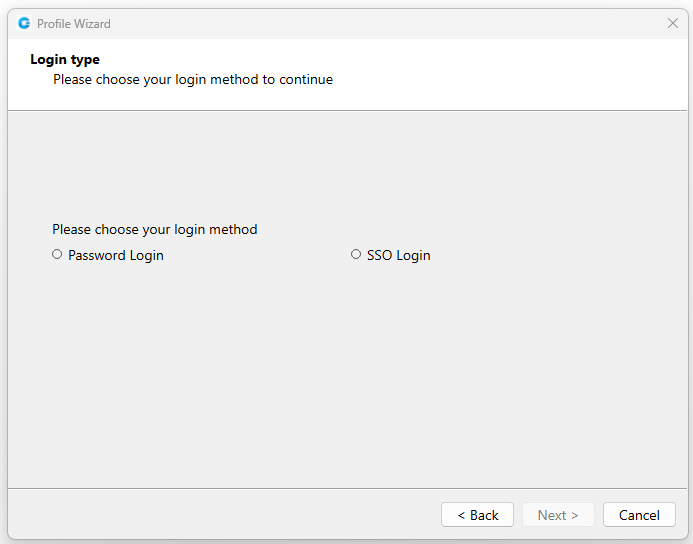
While creating a profile, users will need to select whether they want to use the Single Sign-On (SSO) or Password login method.
Single Sign-On (SSO) allows users to use one set of credentials to log in to multiple websites and applications.
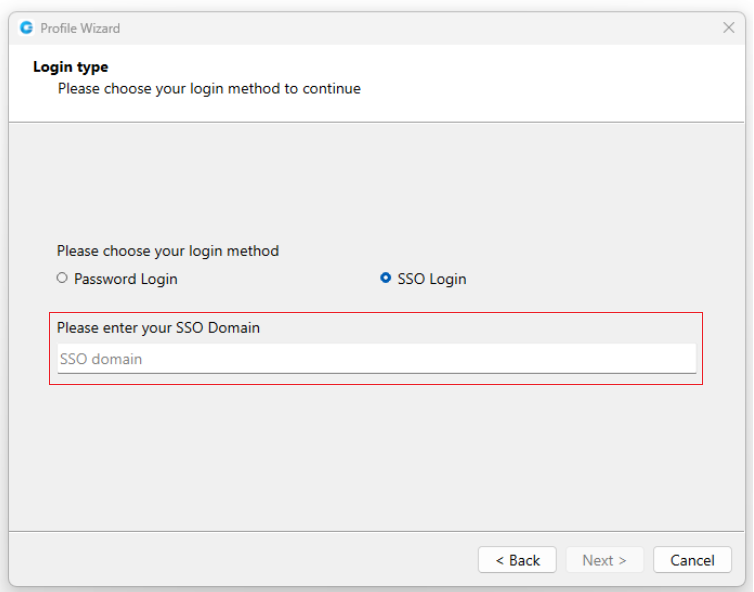
When selecting the SSO Login method, the user needs to provide their SSO domain.
When logging out of the app, users will be asked whether they want to delete the SSO token.
After providing it and clicking the Next button, they will be asked whether they want to use their Google or Microsoft account in order to use the SSO Login method.
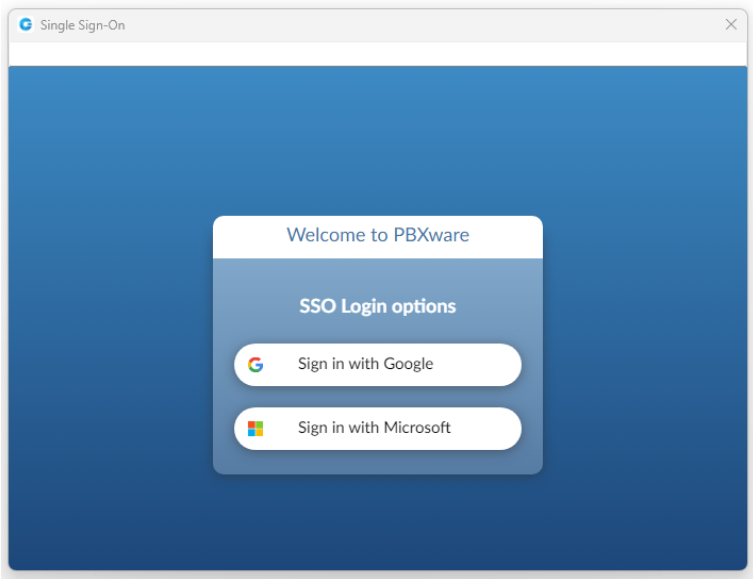
Please note that the Single Sign-On (SSO) feature needs to be enabled in a license and configured on the PBXware before it can be used.
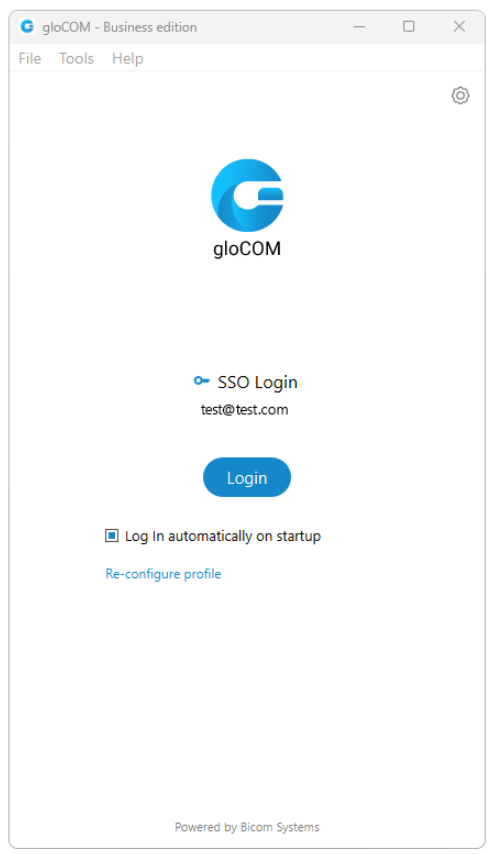
However, if they decide to use the Password Login method, they need to use their email and password to access the app.
Nevertheless, the SSO Login method can still be configured by clicking the SSO Login link on the login screen.
1. Account details
Make sure you have received your account details from your system administrator or account manager.
The received details must include:
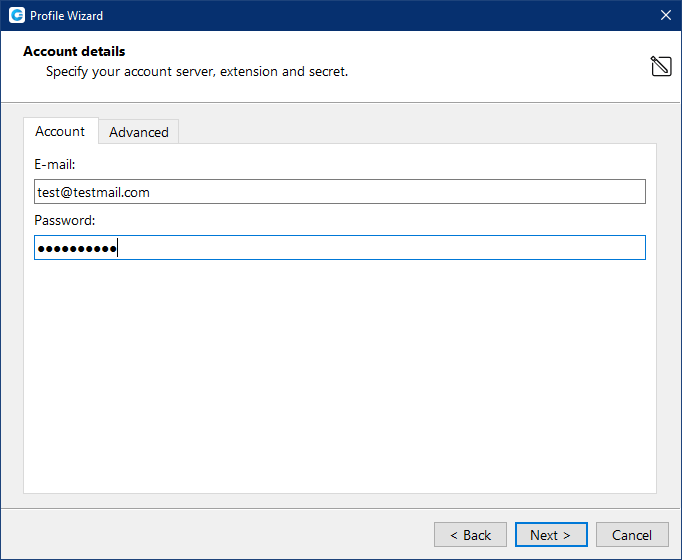
Account
- E-mail: for example example@bicomsystems.com
- User password: for example 93sU2e_2%
Advanced
- Server address: The user can enter the DNS domain or the server address (for example: voip.test.com or 134.23.211.23). In the case of the DNS domain, the application will perform a DNS SRV lookup, and it will try to connect to each server that the application obtains based on their priorities. In the case of the server address, the application will try to connect directly to the given address.
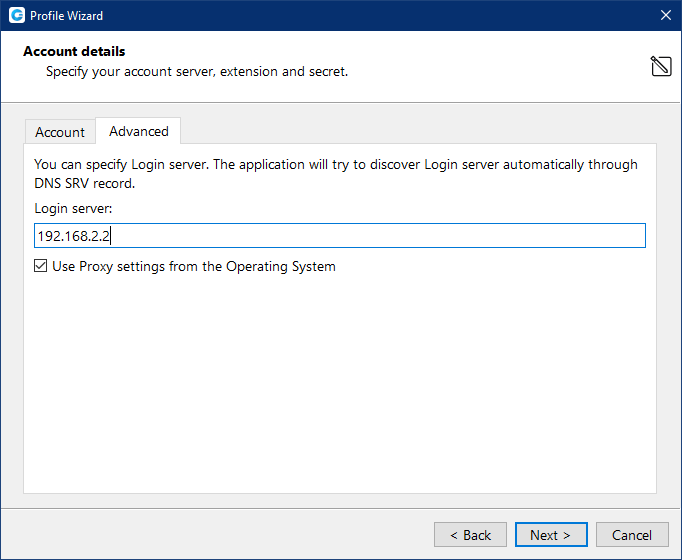
Your administrator can set up a DNS domain for SRV lookup on the server-side. SIP registration will be done for all obtained records, and the first one that succeeds will be in use. This way, failover can be performed for scenarios with more than one SBC. In that case, if the primary SBC goes down, the second one will be in use. (Not supported in Offfice Edition)
From gloCOM 6.0, instead of an extension and secret, users will provide their e-mail assocciated with extension and User password.
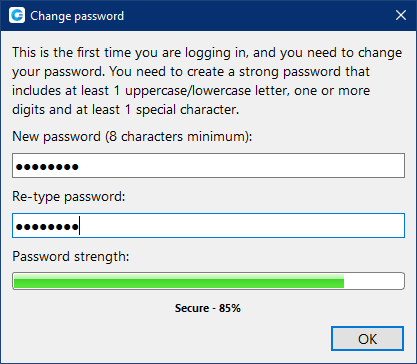
After you click Next, gloCOM will try to connect to the specified server with the user's account details. If the account details are wrong, a red warning will appear. Otherwise, a Change Password pop-up window will appear telling you to change your password since this is the first time you are logging in. Your password has to be at least 8 characters and 85% secure. Users are required to change this password on login and once changed it is hashed and unknown to all administrators of the system.
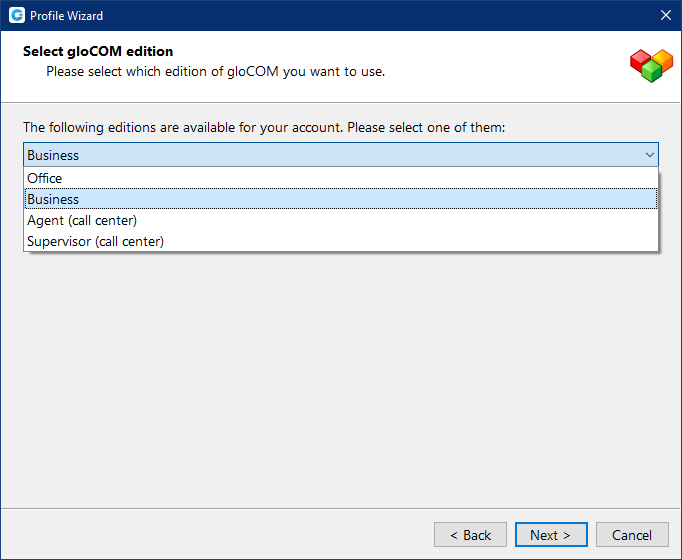
2. gloCOM edition
Select gloCOM edition. You may choose between Office, Business, Agent (Call Center), or Supervisor (Call Center).
3. Setup office and mobile phone
Setup your Office phones. If you choose softphone, you will be able to place and receive calls using your computer. If you choose desk phone, you can control calls on your IP desk phone from your computer. Selecting the checkboxes for both desk phone and softphone will allow users to switch between devices when initiating a call and also to pick which device they would like to answer incoming calls on.
Softphone is not supported in the Office Edition.
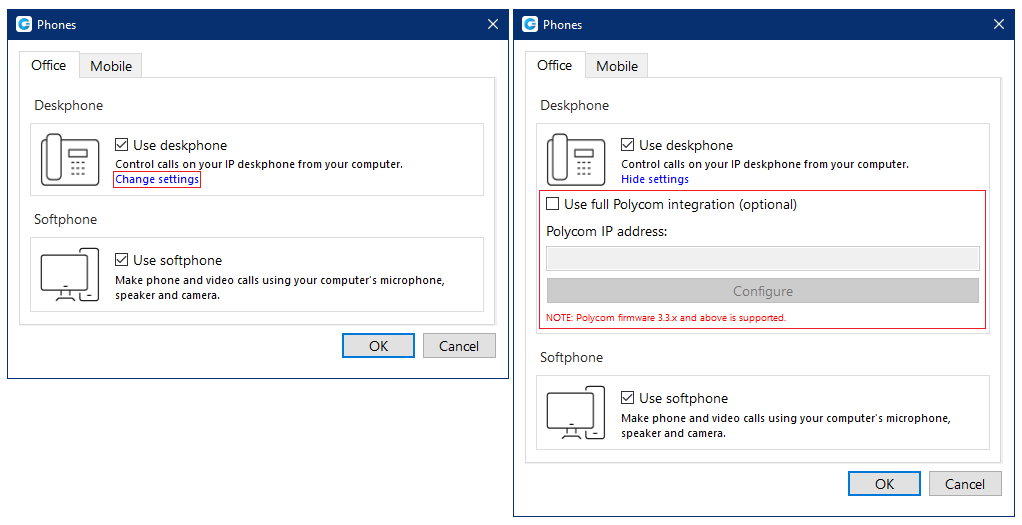
If you use Polycom phones, click on Change settings. Provide the phone's IP address and click Configure. This will help gloCOM to identify and configure Polycom phones.
In gloCOM, users can assign Mobile Numbers that they would like to receive calls on when not at their desk. Click the Mobile tab and click + icon to add Mobile phone number and it’s label.
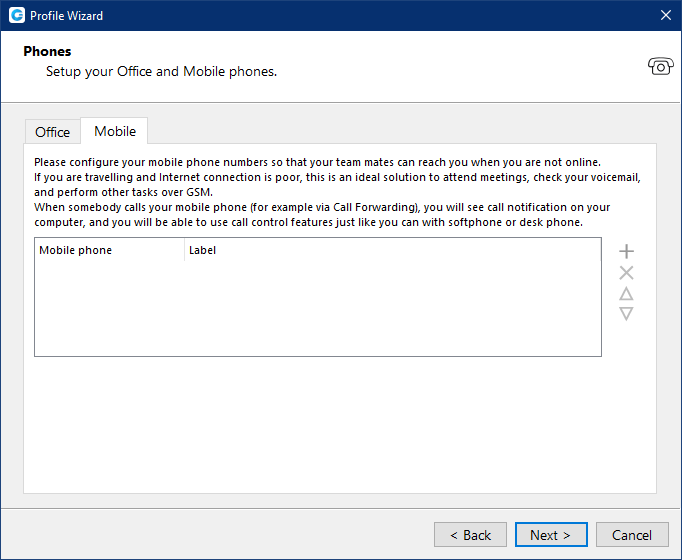
The entered Mobile phone number can be with or without the plus(+) sign.
Click the Next button and a configuration summary window will appear. Please check the profile details and make sure they are correct.
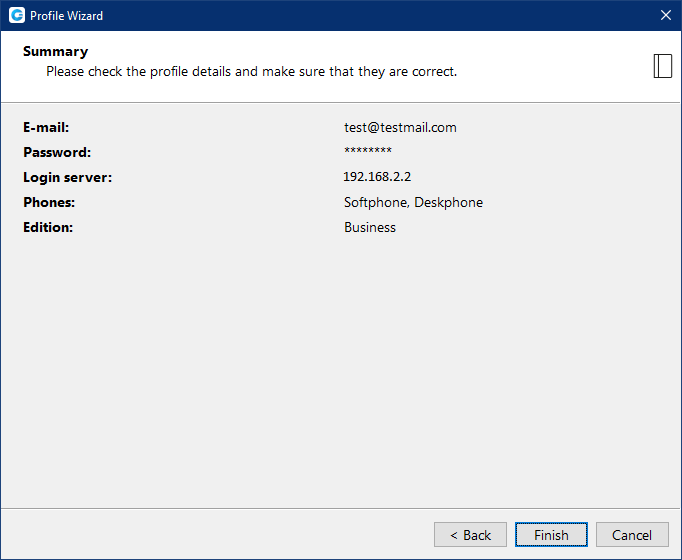
Click the Finish button and you will be automatically logged in with your account. Now you are ready to use gloCOM with all its features.
Next: Login