gloCOM Meeting GO enables users to participate in meetings on the go. Users can carry their own office in a pocket and participate in audio and video conferences, where they can send messages to the meeting participants and view the shared screen.
This application can also be used for meetings hosted on the PBXware network.
¶ Installation
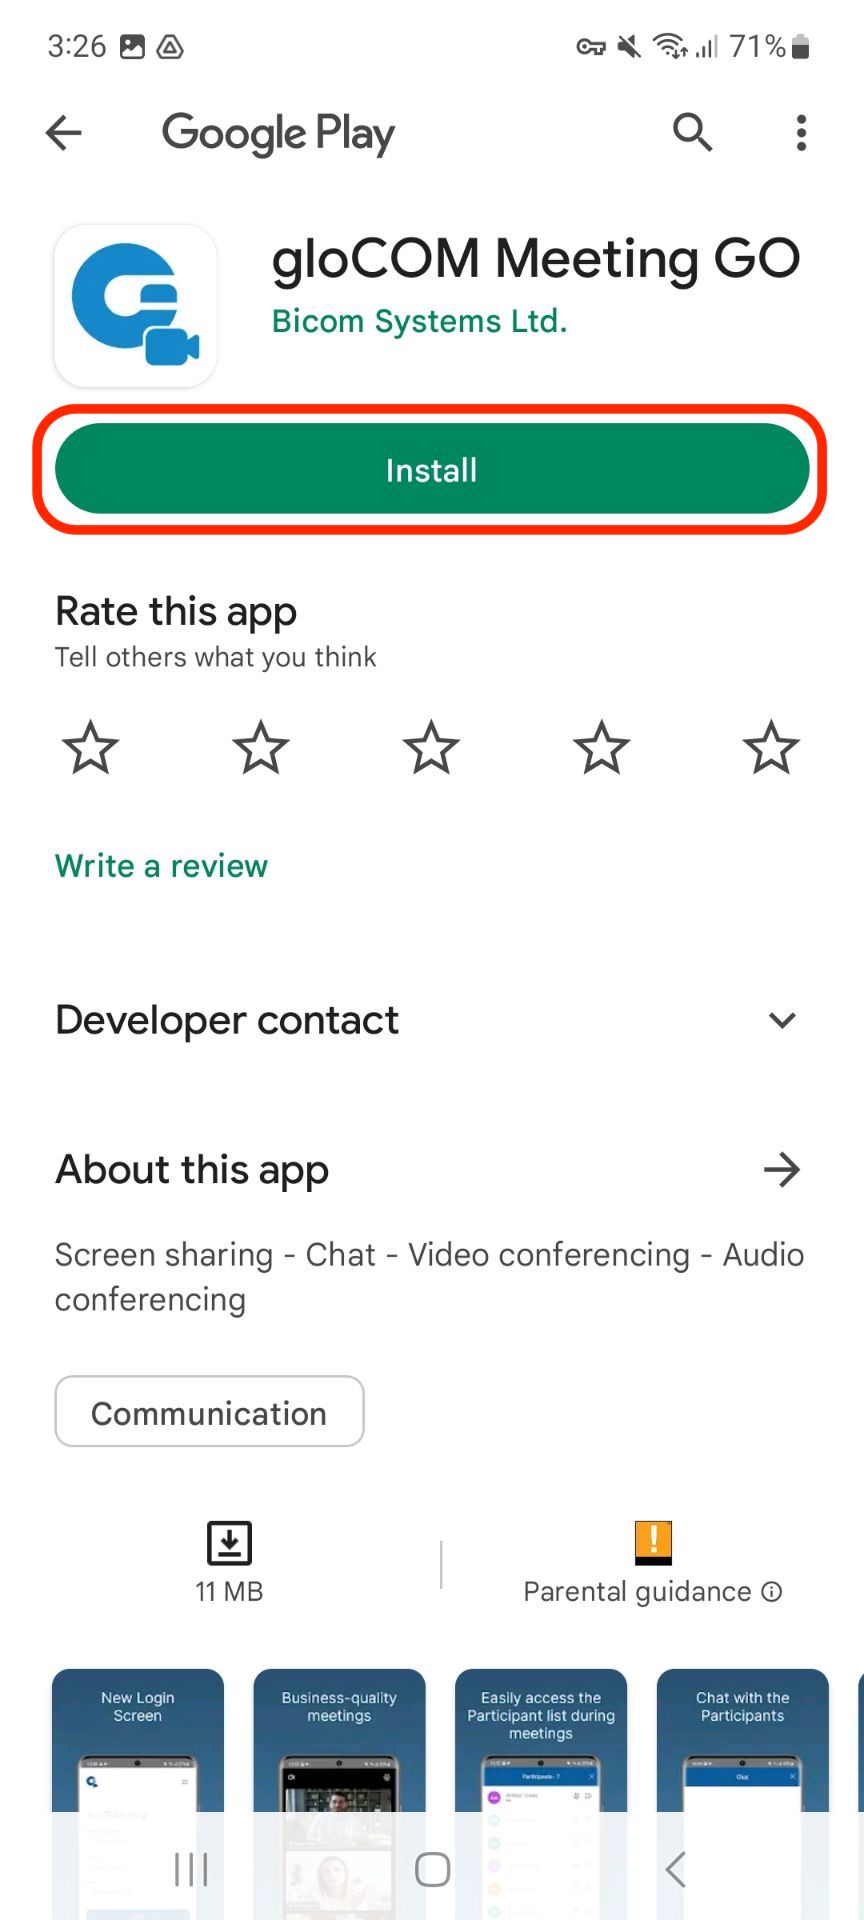
- Open the gloCOM Meeting GO app on an Android mobile device to download the application (Alternatively, Go to the Play Store & Search for the gloCOM Meeting GO app)
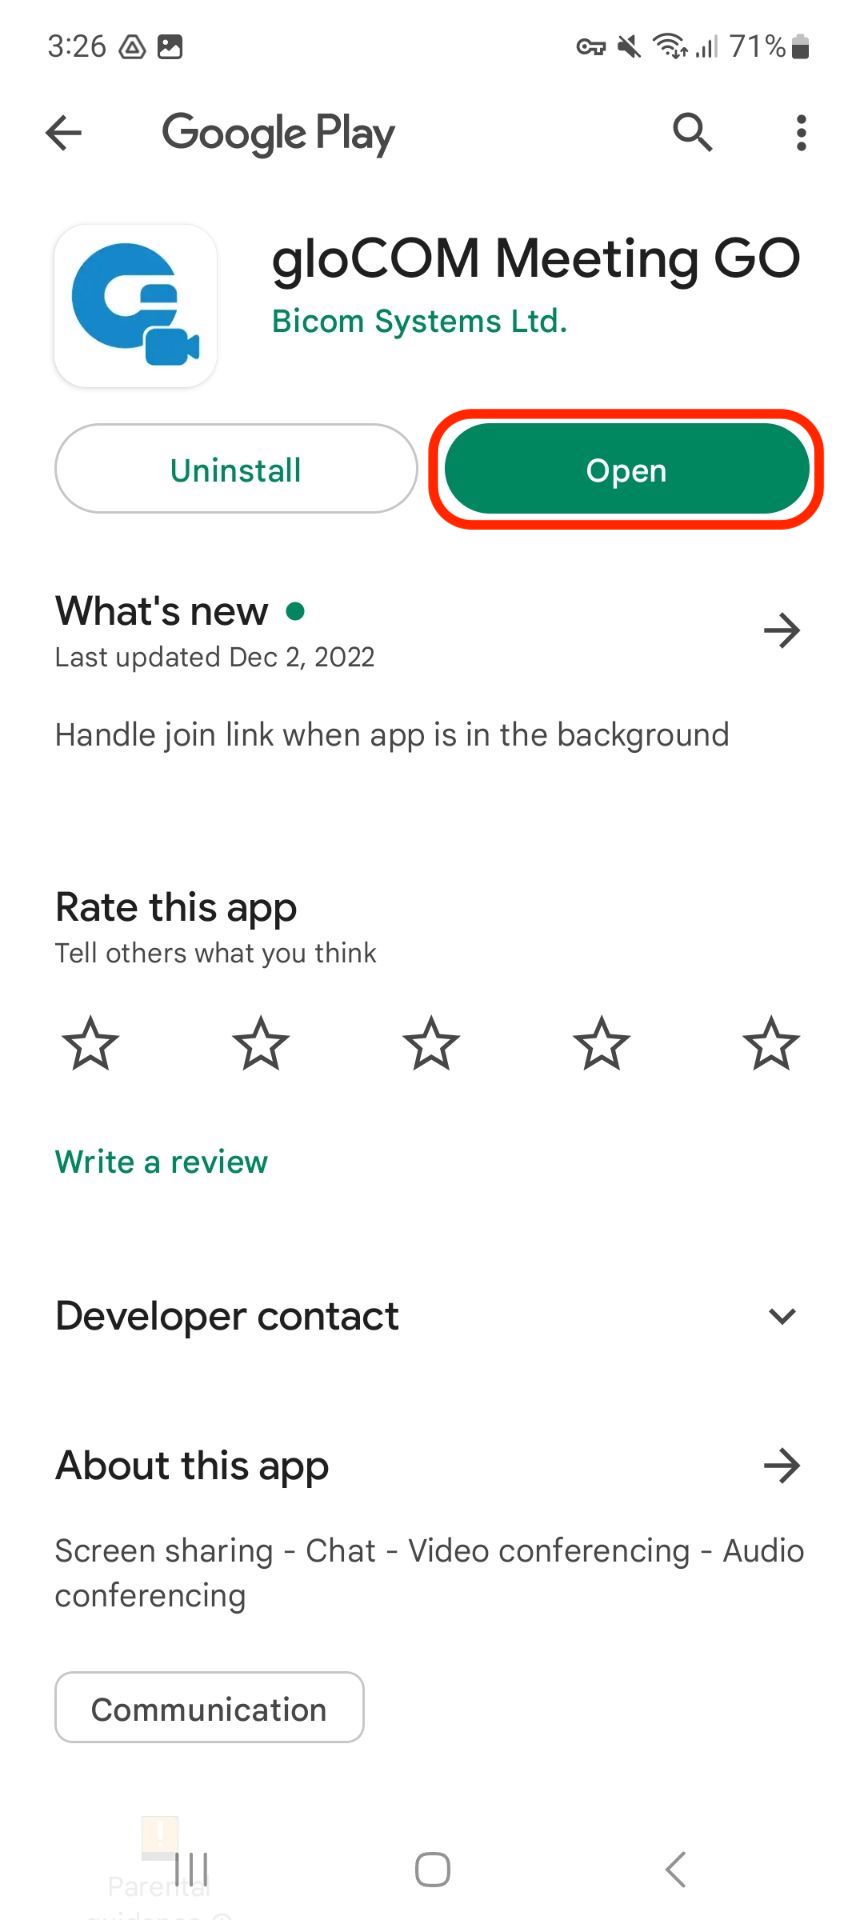
- Install app
- Open the app
¶ Joining Meeting
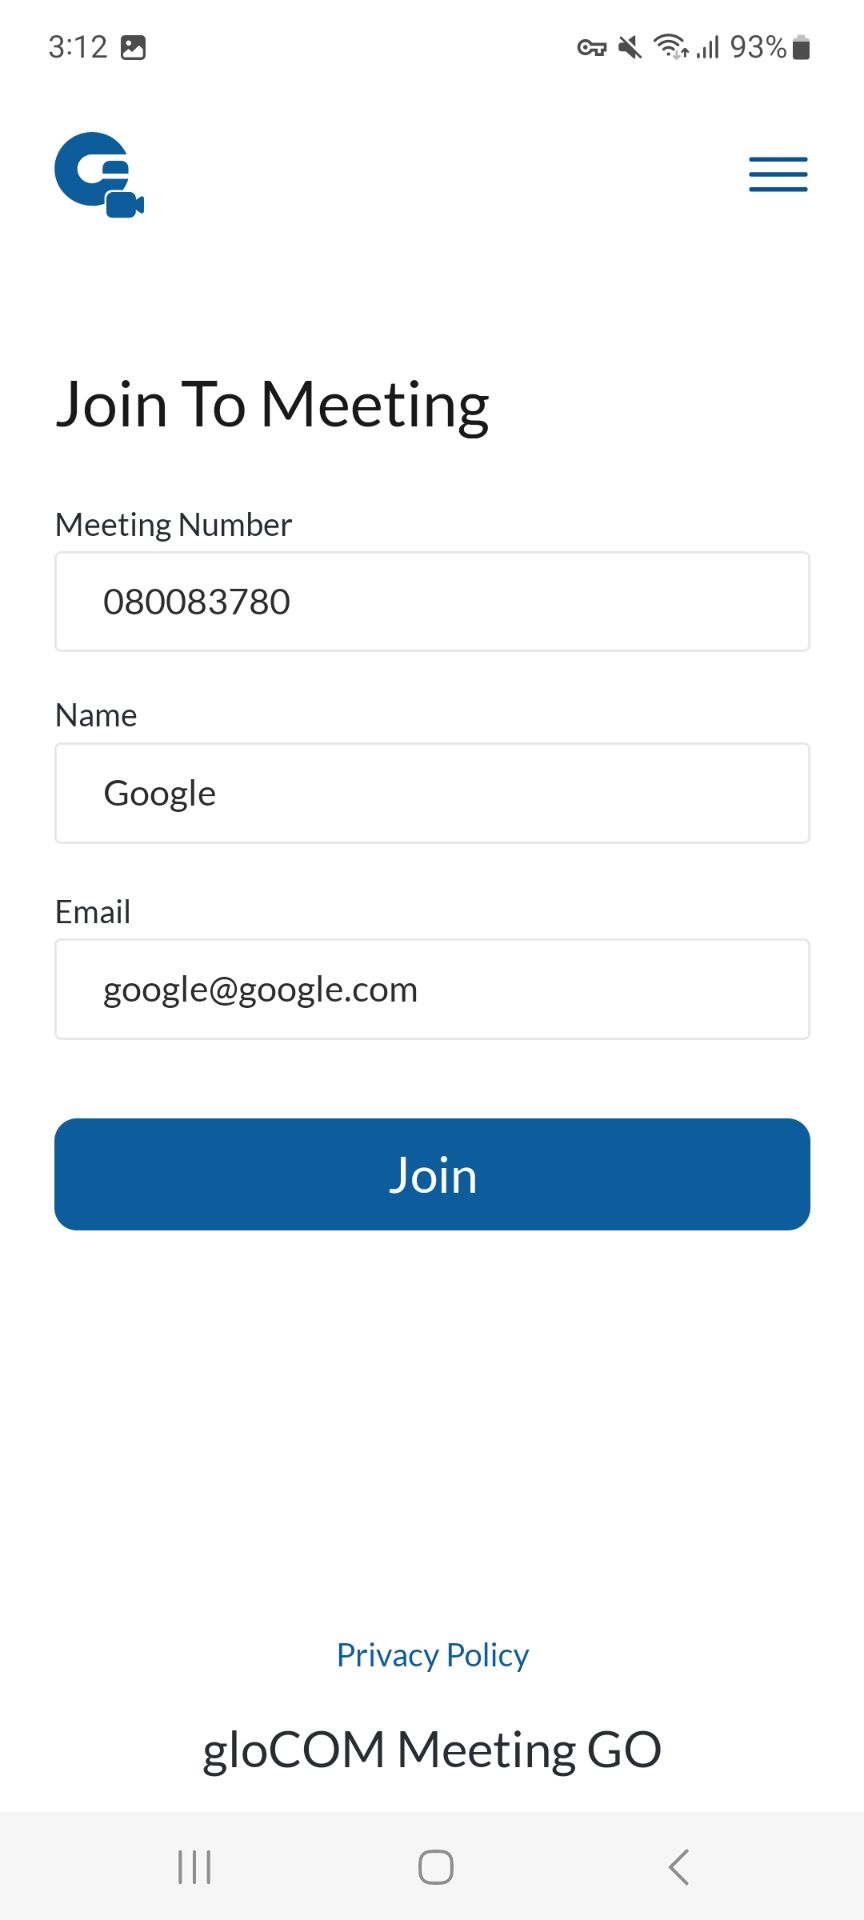
Users can join the meeting by providing the following information:
- Meeting number - the number of the meeting provided to the user by the meeting organizer
- Name - the name that will be used for a user in the meeting
- Email - user’s email address
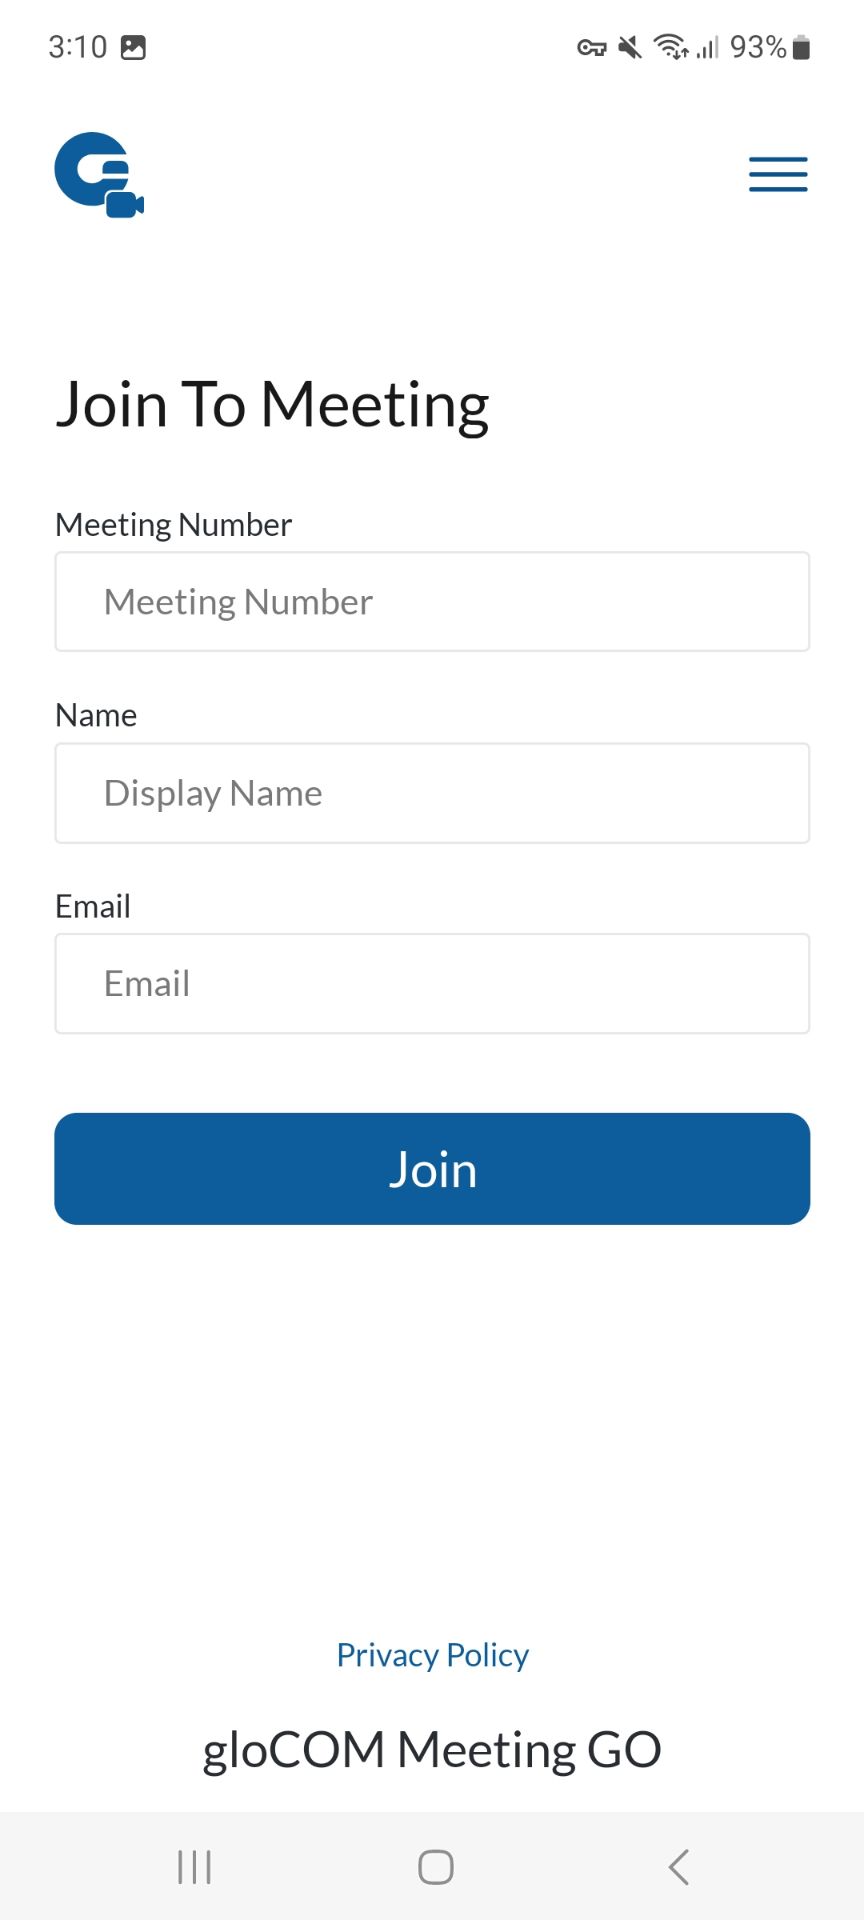
Meetings can be private or public. For private meetings, users need to be invited via email to join. For public meetings, users need to enter the Meeting Number provided by the meeting organizer.
After entering the required information into the fields, the user should press the Join button to join the meeting.
¶ Meeting services:
- Audio
- Video
- Screen sharing
- Chat
On meeting leave, connections to all the services will be closed. Due to the microservice architecture of the product, joining the services will be an asynchronous task, which means that the order of joining is not constant.
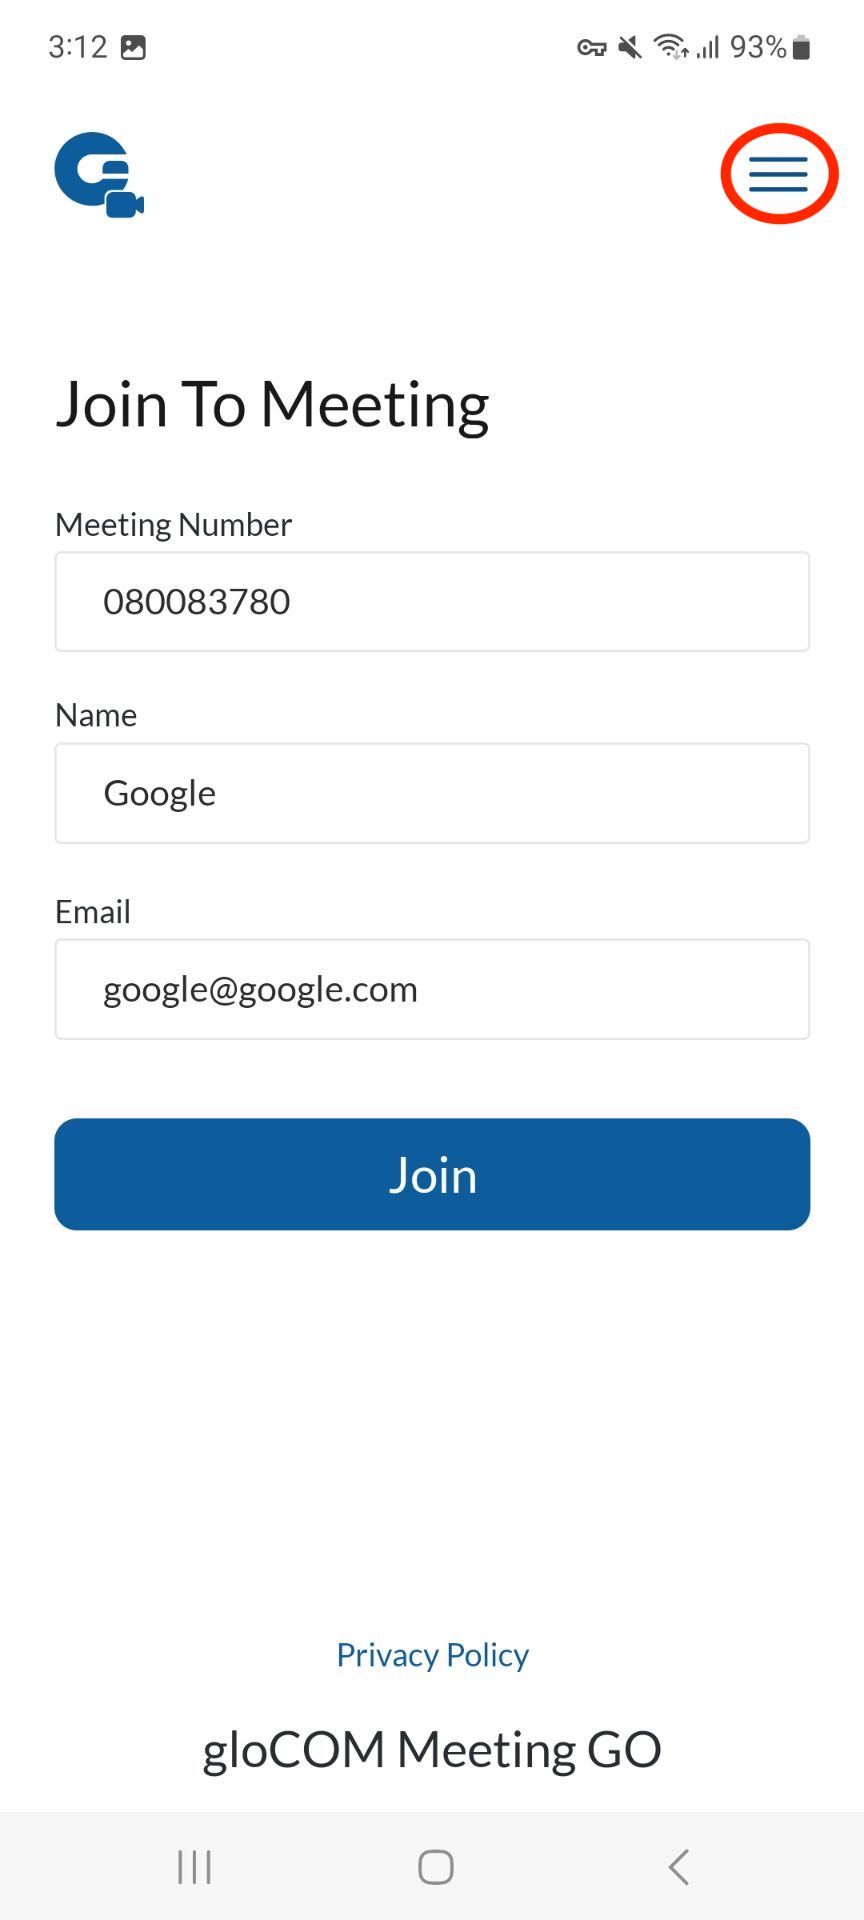
In the upper right corner is an icon for meeting settings. A user can set preferred settings before joining a meeting. Selected preferred settings will be applied on meeting join and saved in local storage for subsequent meetings.
¶ Settings
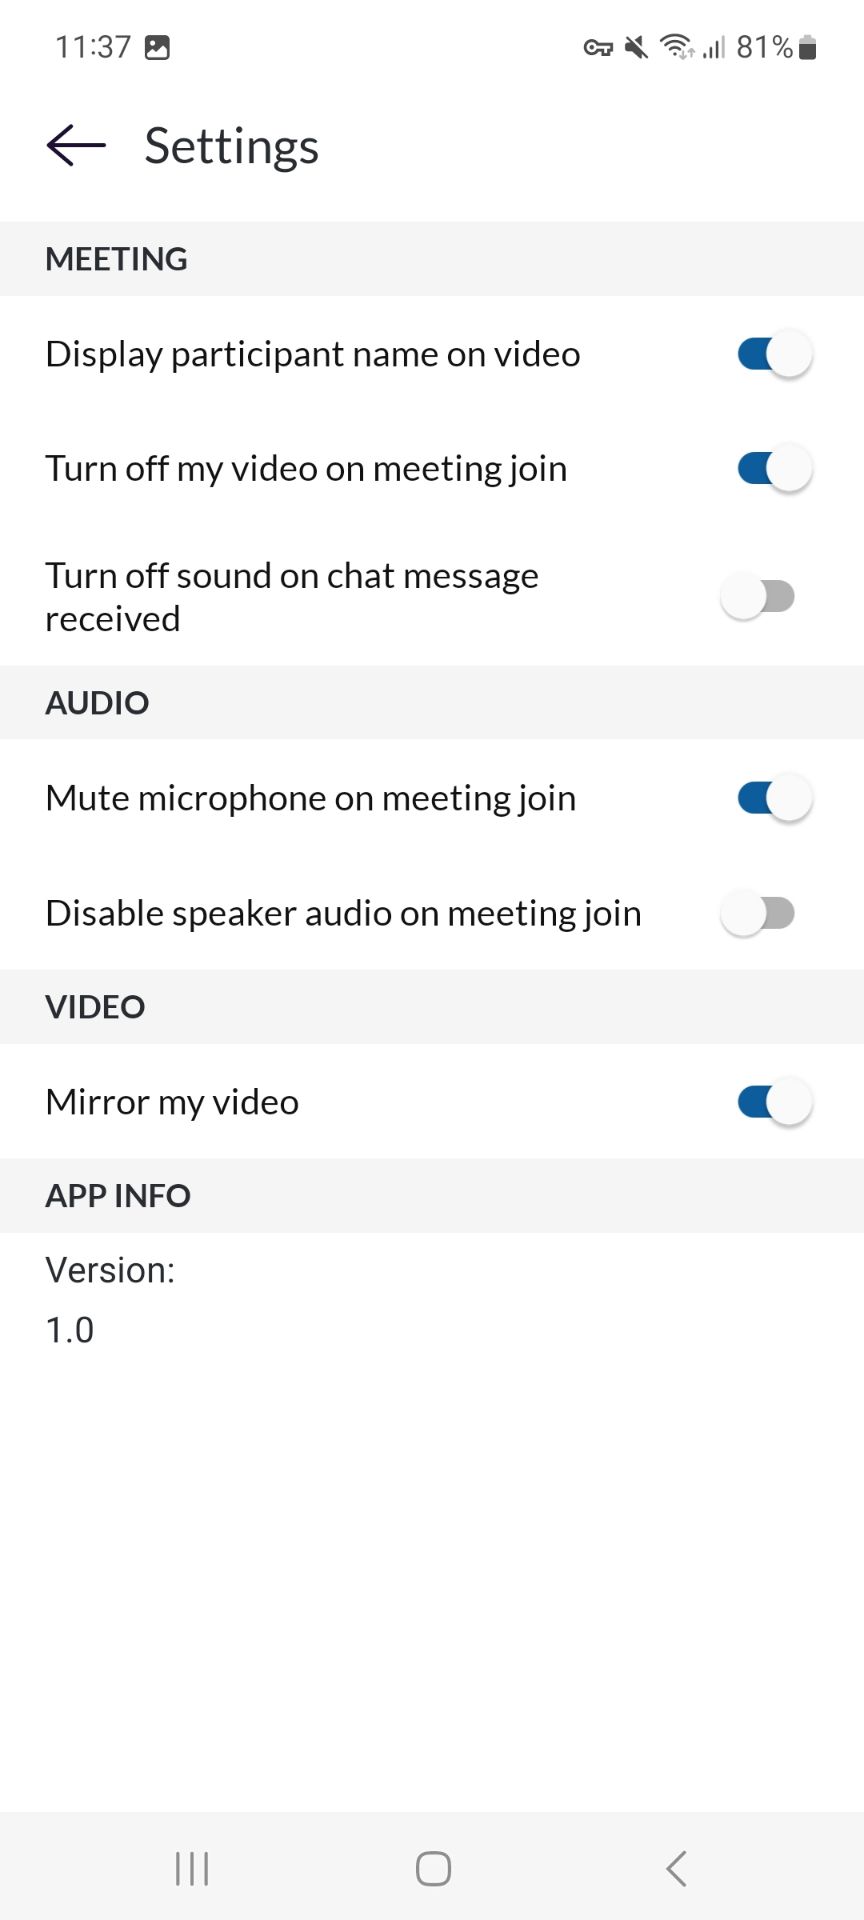
Users can predefine settings and set audio and video options for each meeting they join.
Meeting settings:
Display participants' names on video - see participants' names on the video
Turn off my video on meeting join - join the meeting without the video on
Turn off the sound of the chat message - mute the chat message sound during the active meeting.
Audio settings:
- Mute microphone on meeting join - enable to join a meeting without the microphone on
- Disable speaker audio on meeting join - disable speaker when joining a meeting
Video settings:
- Mirror my video - enable mirroring video
App info:
- Version - info about the version of the installed gloCOM Meeting GO app
¶ Meeting Interface
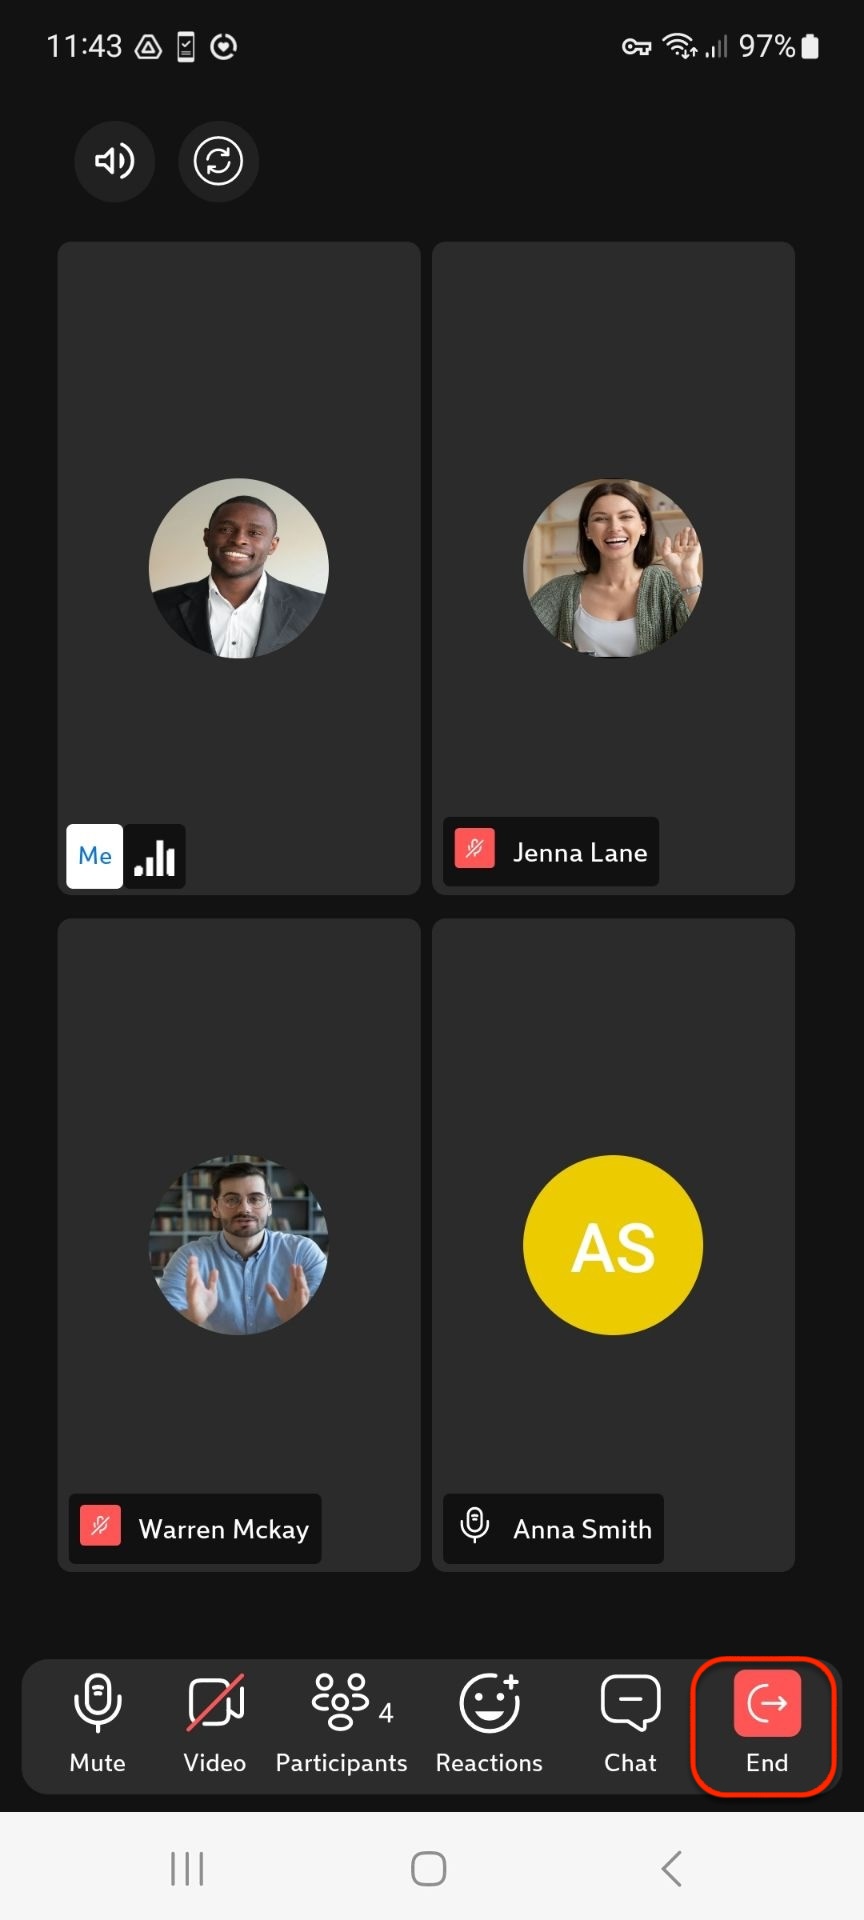
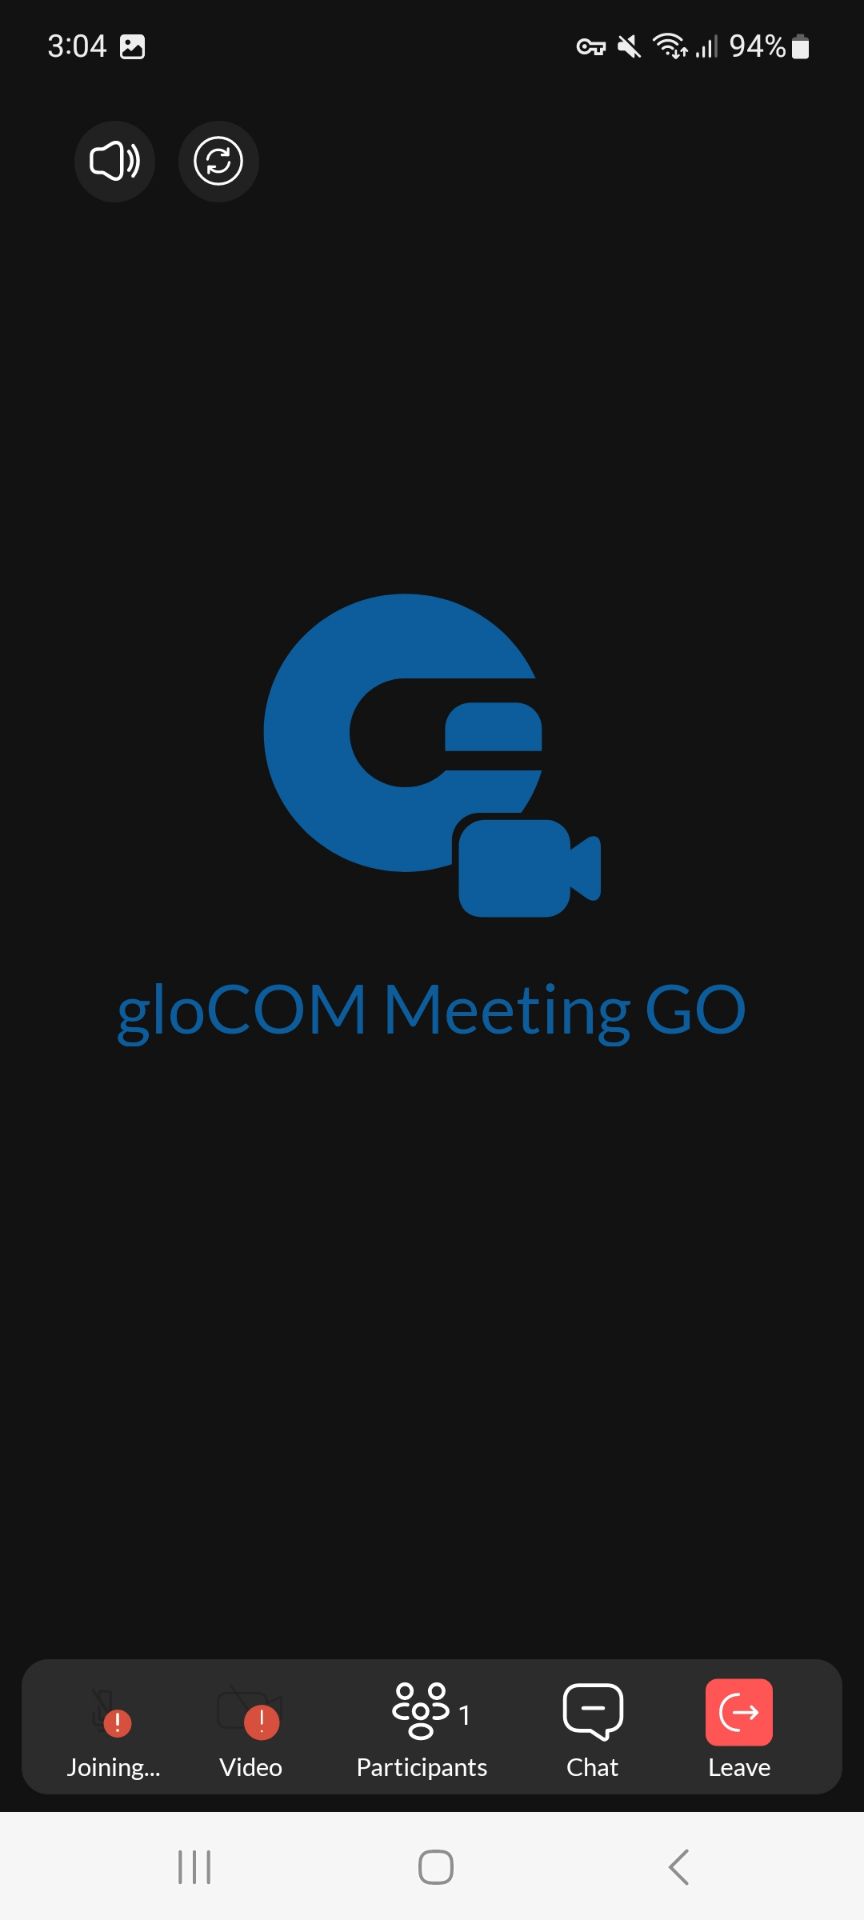
There are five main buttons on the meeting screen:
- Mute/unmute
- Video on/off
- Participants screen
- Reactions
- Chat screen
- Leave meeting
¶ Audio (Mute/Unmute)
When the user presses the mute/unmute button, the microphone is muted or unmuted, and the audio state is sent to the audio server.
¶ Video
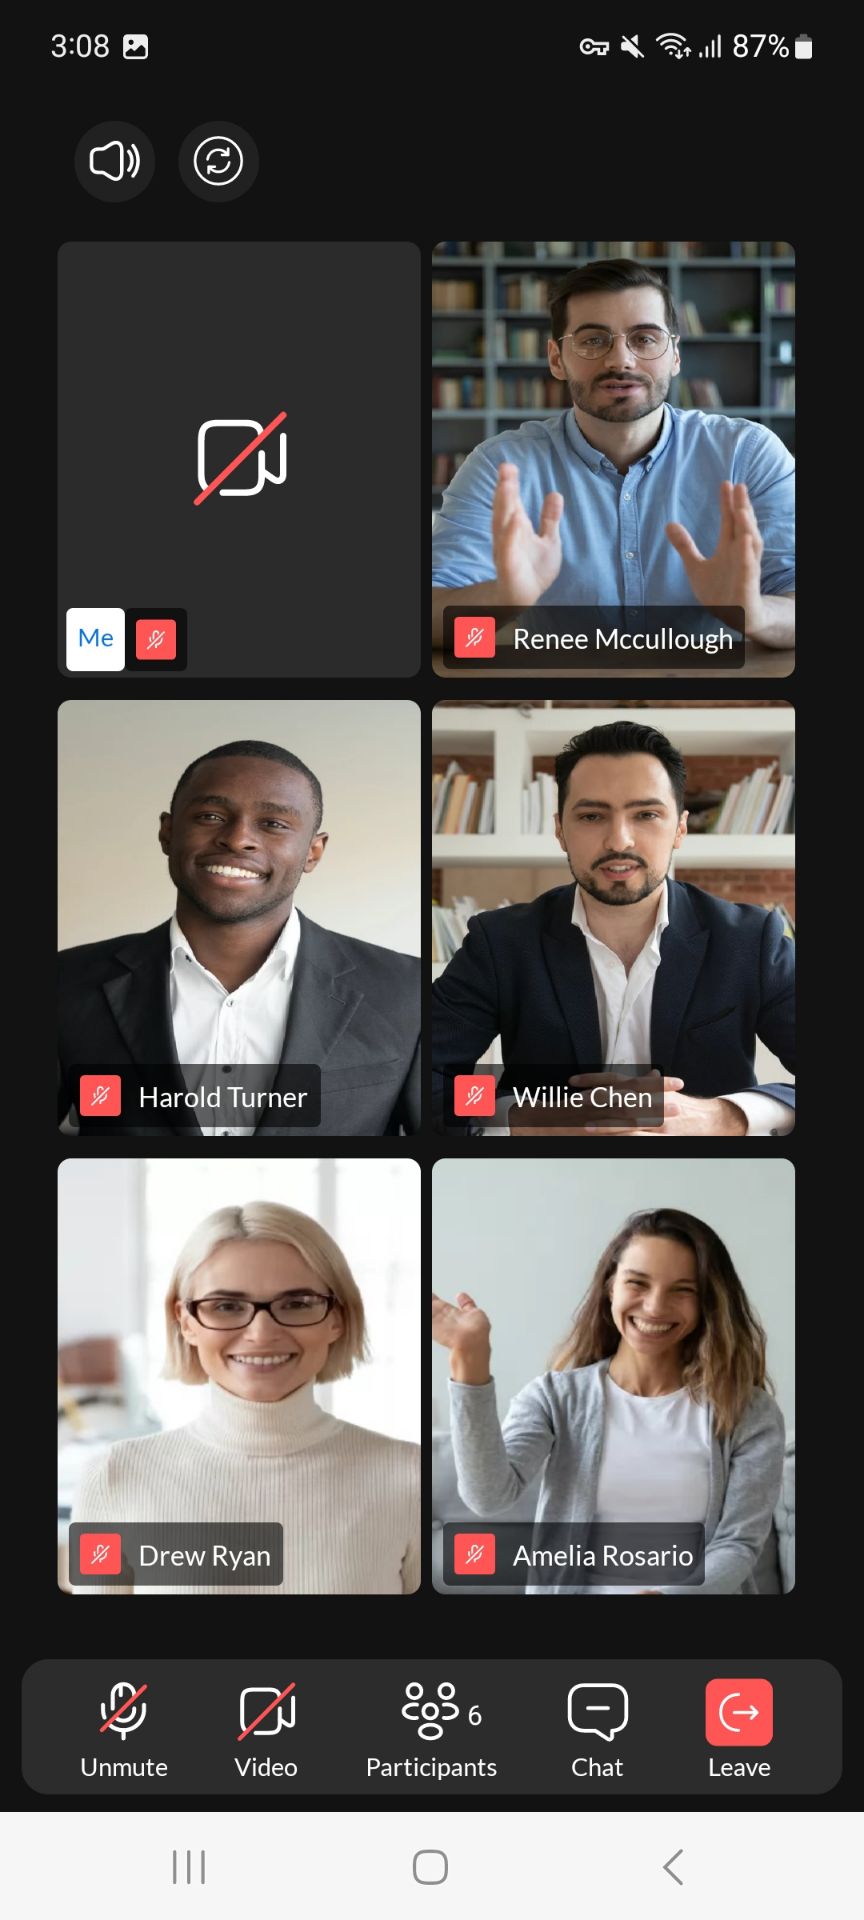
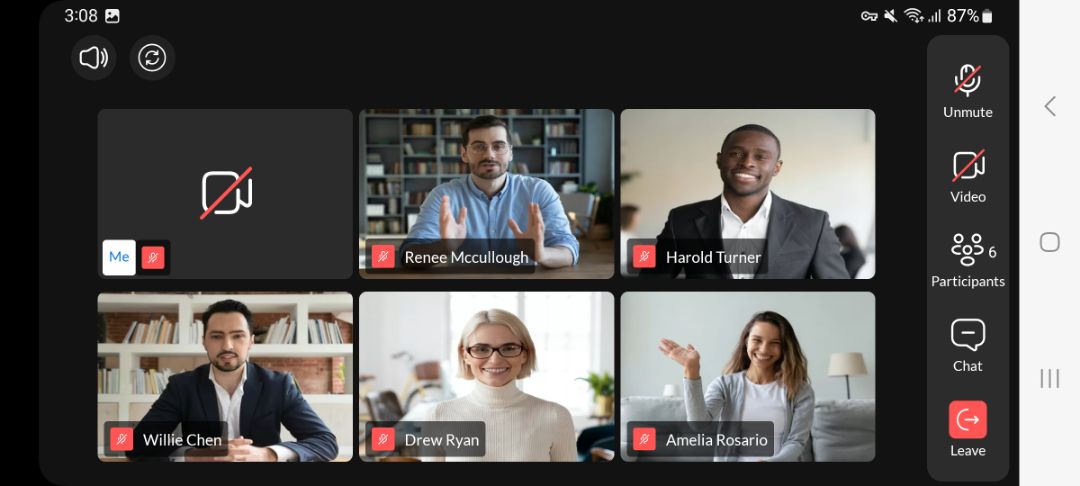
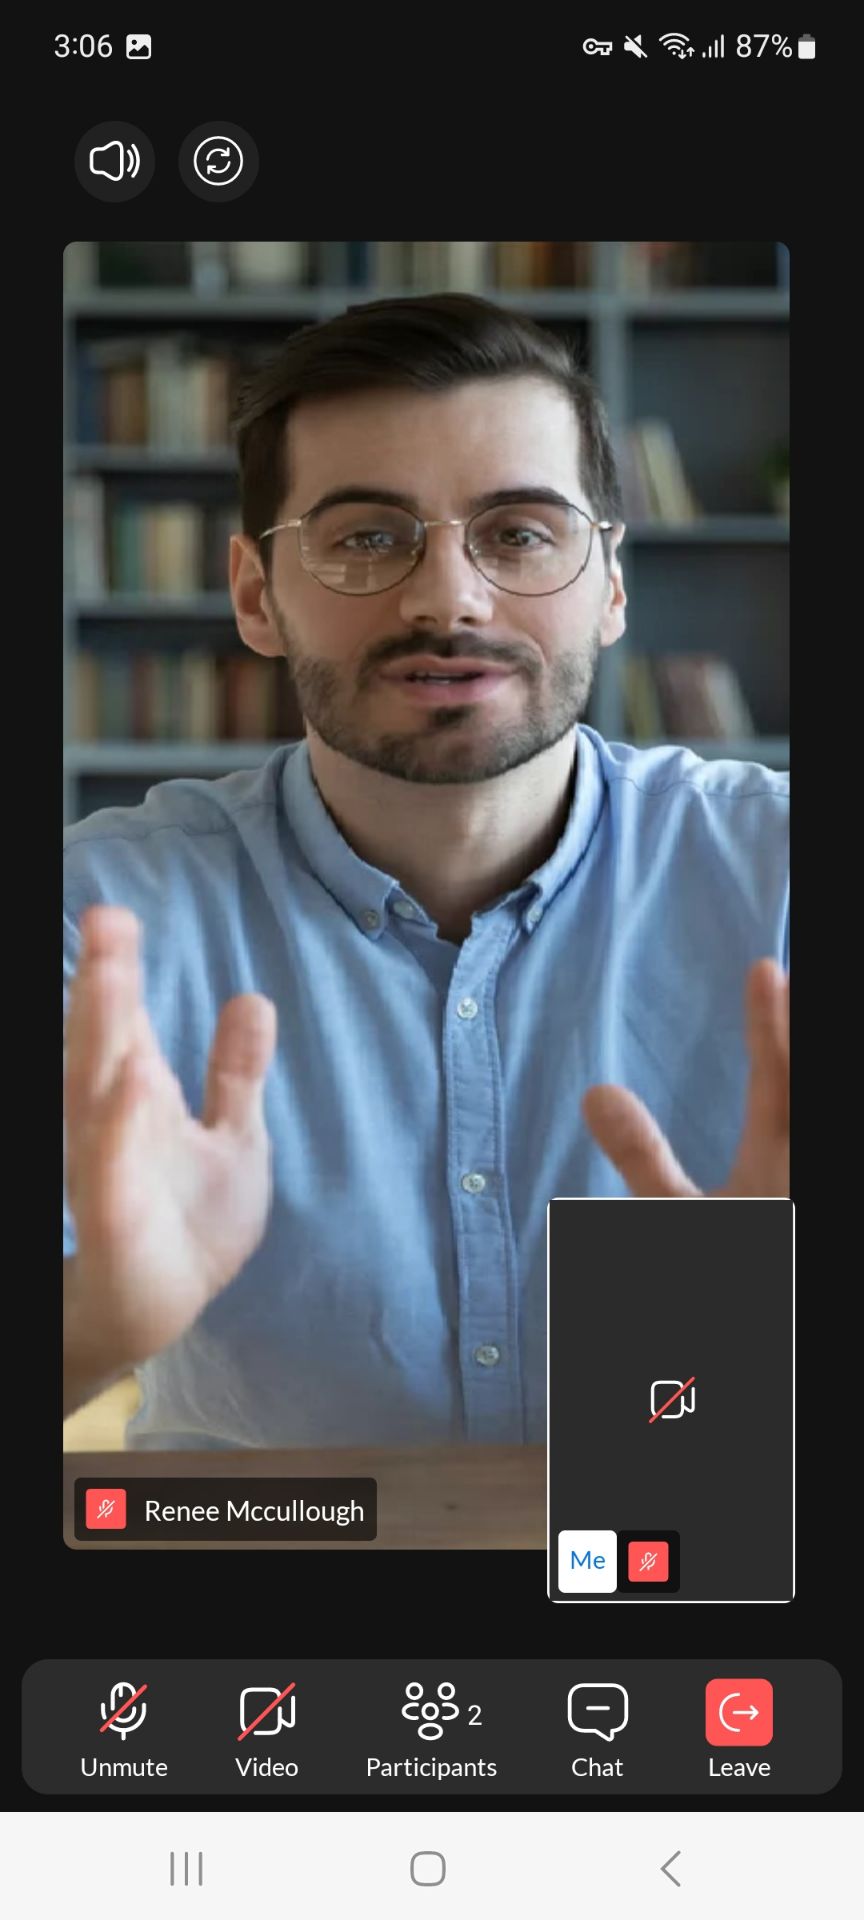
When the user presses the video on/off button, the video stream appears on the screen, and the video state (on or off) is sent to the video server. If no other video streams are active in the meeting, the user's video stream is focused.
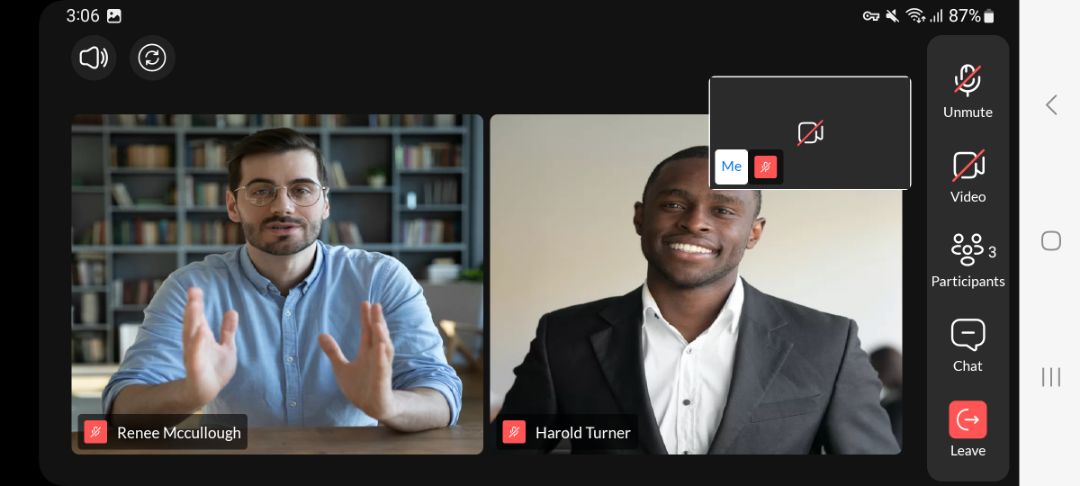
Both portrait and landscape orientations are supported on the meeting screen.
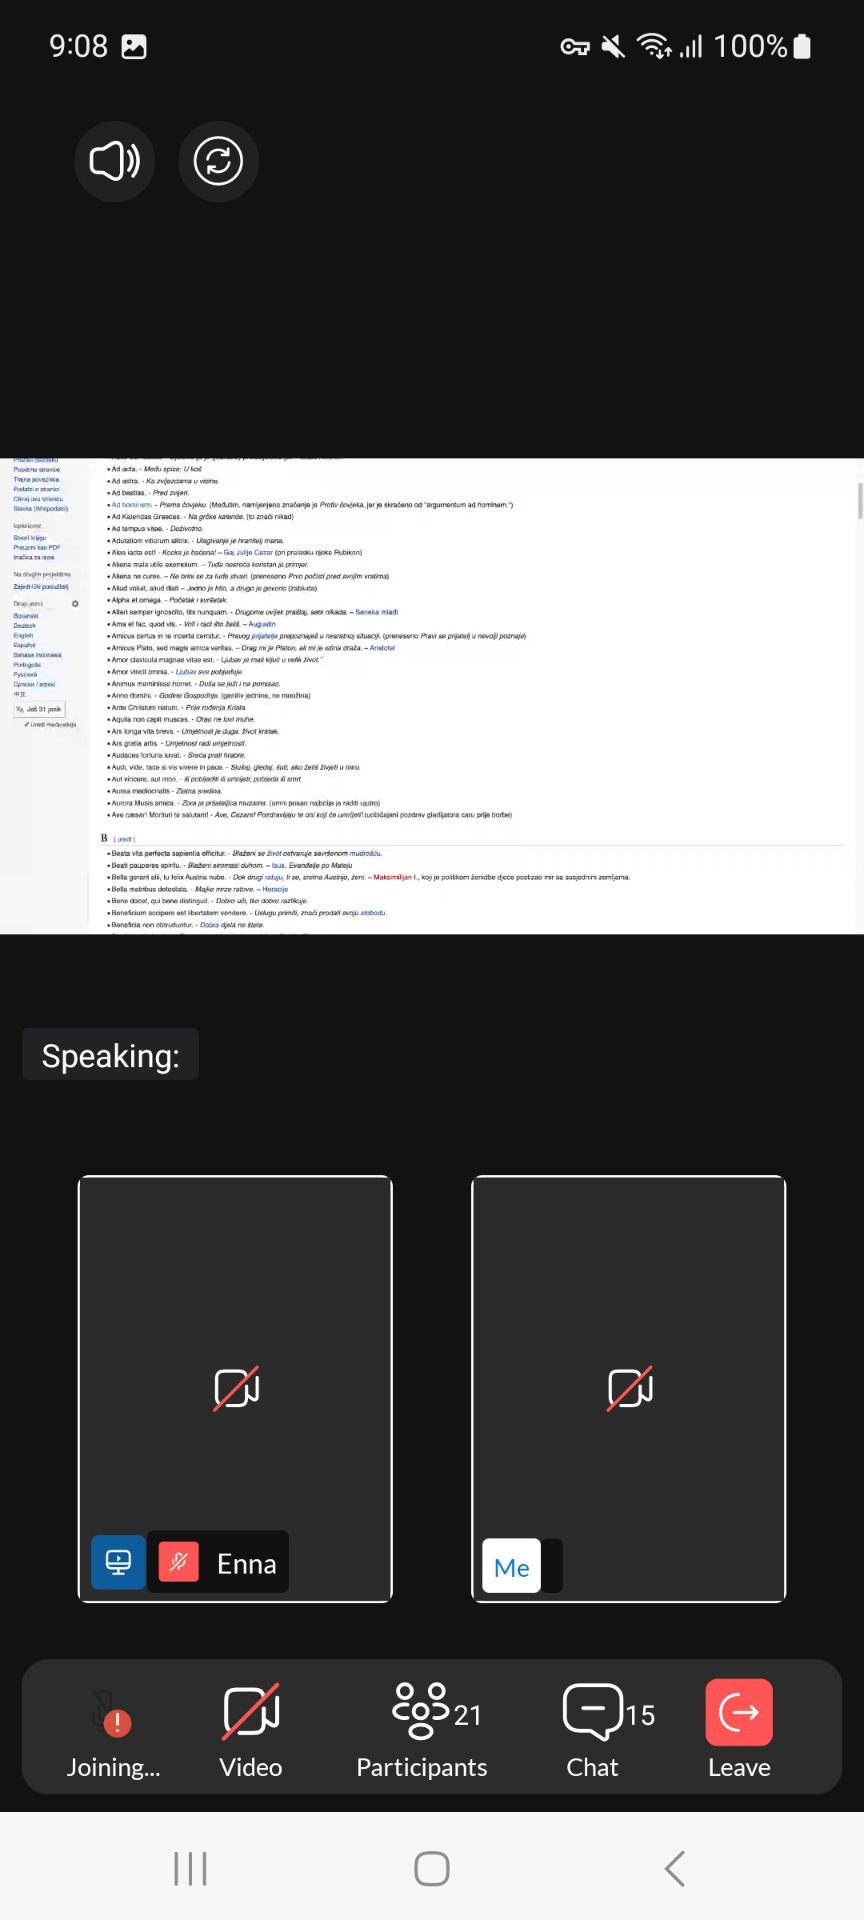
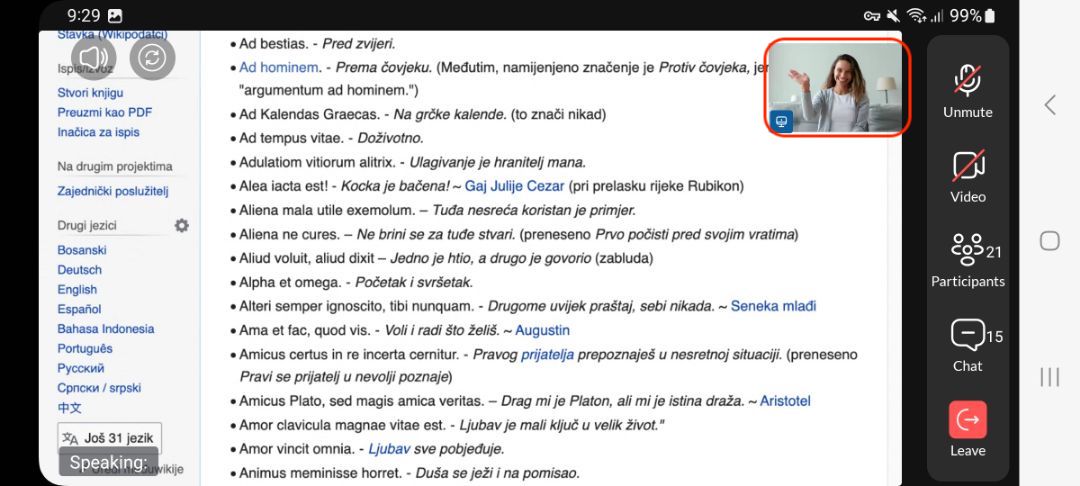
Screen sharing is also available in both portrait and landscape orientation.
¶ Participants
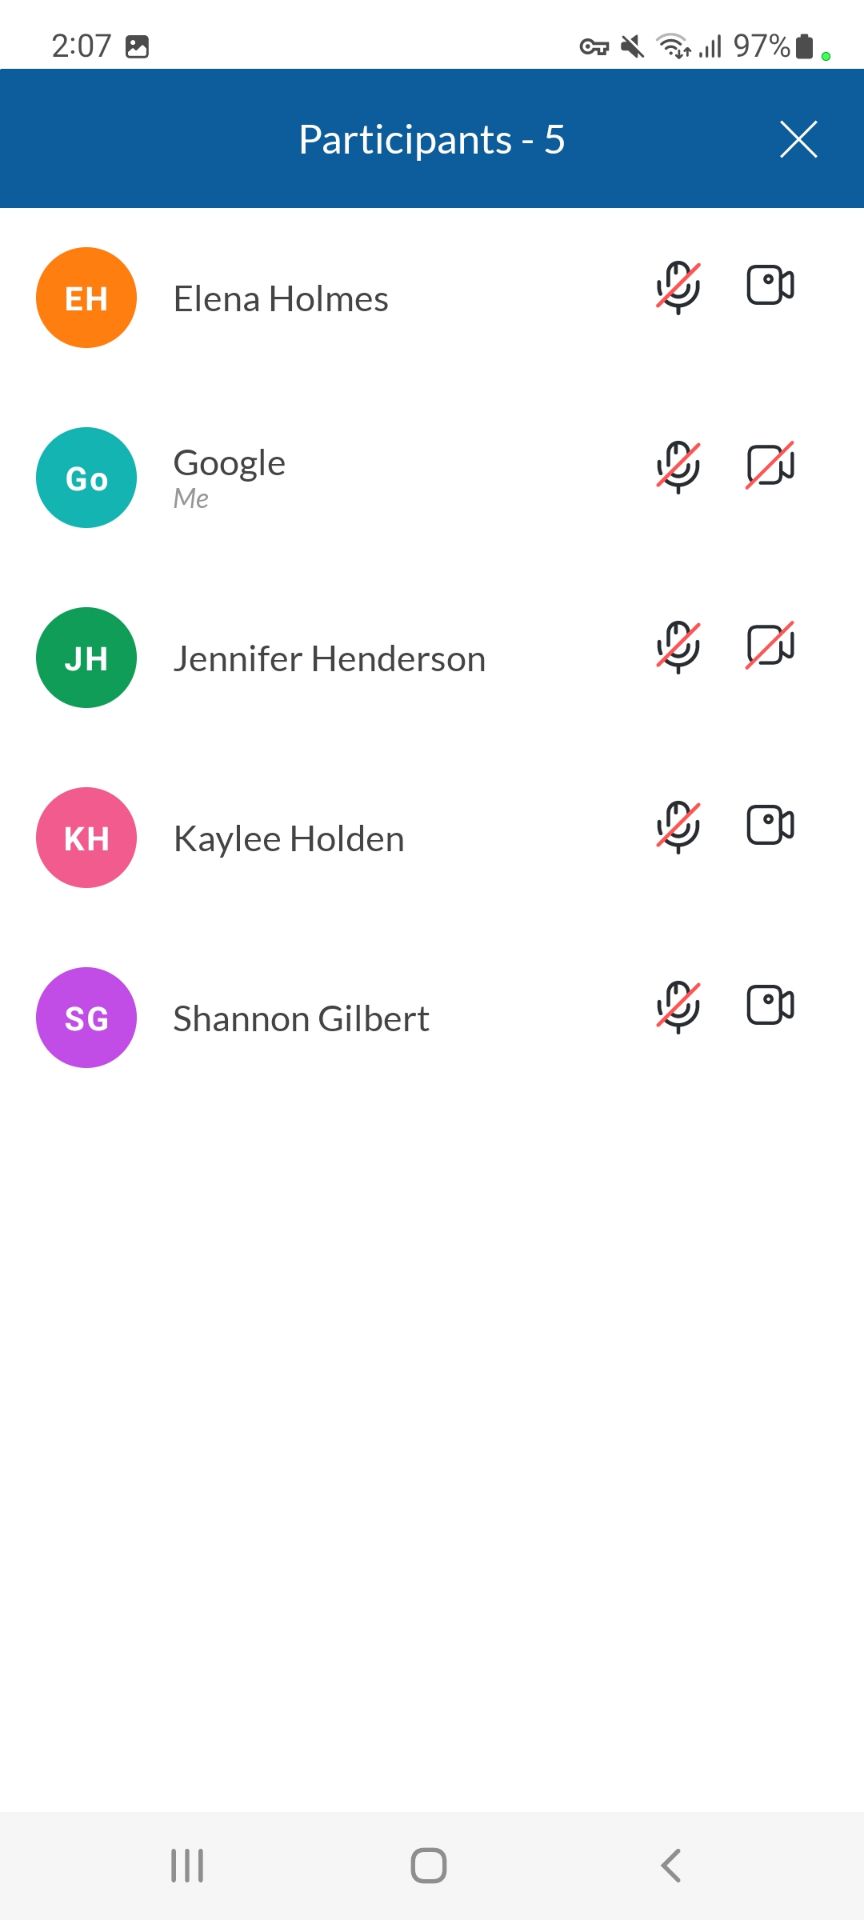
The participants tab contains a list of all the users in the meeting, with audio and video states.
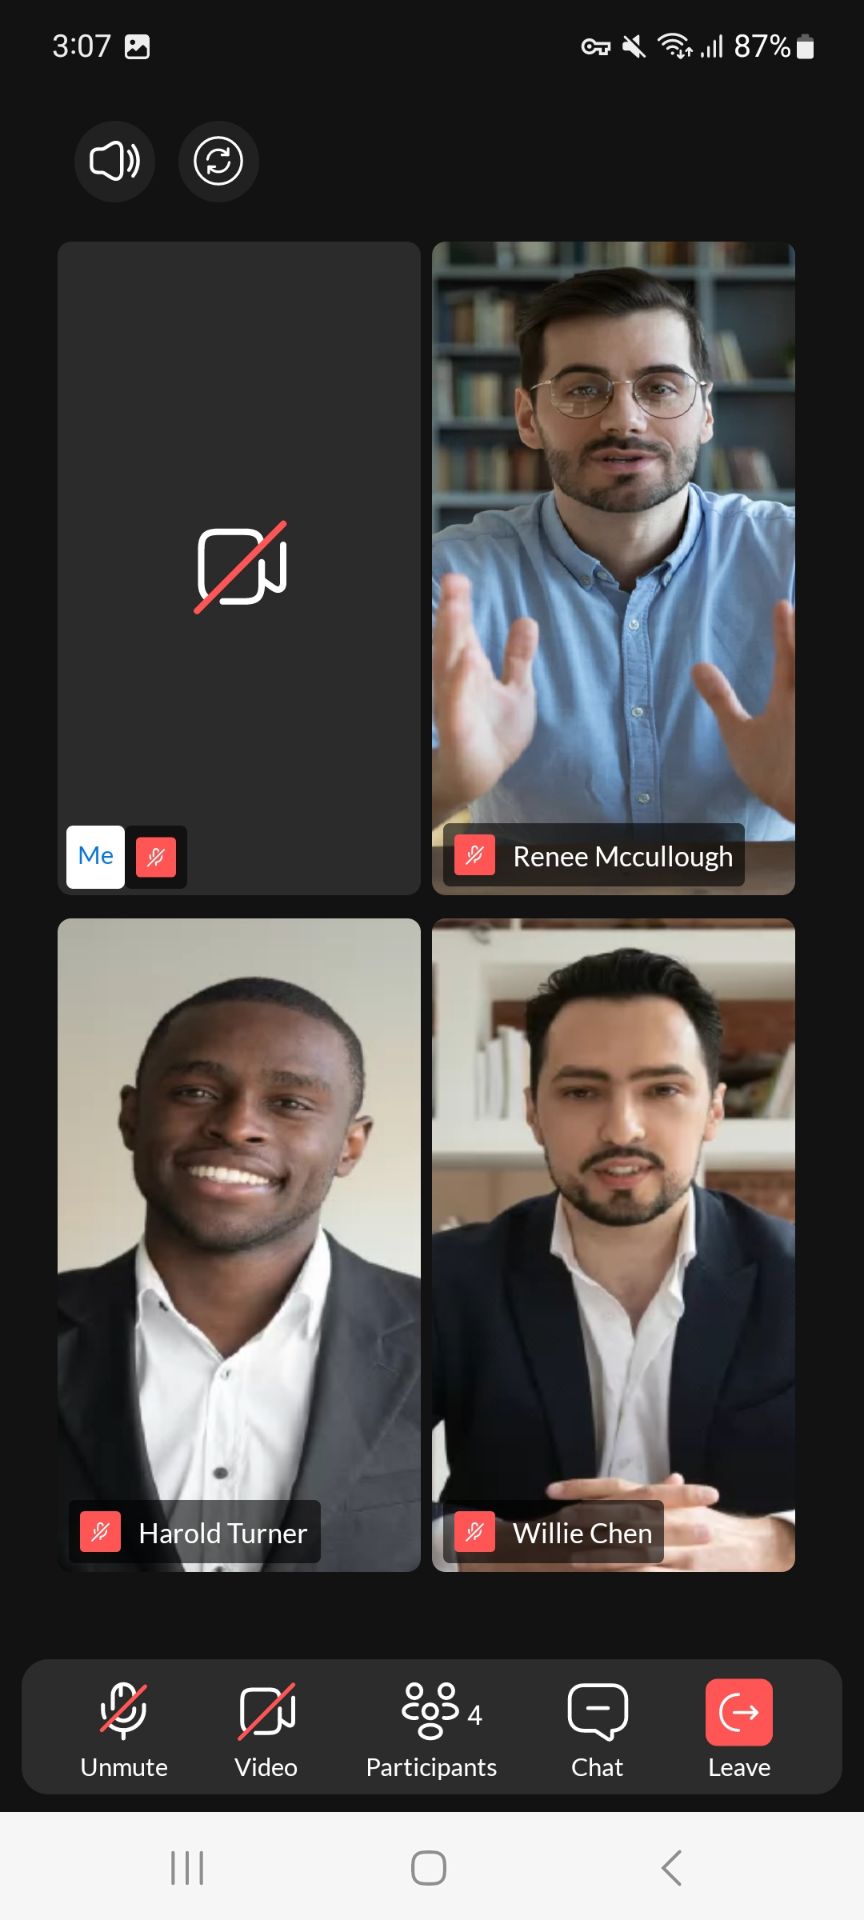
The list is sorted by the number of participants in the meeting. Regarding how many participants joined the meeting, the list is optimized for better viewing and experience.
¶ Participants history
With the Participants history feature implemented, in the meeting participants list will be displayed:
- All active participants
- All invited, but currently not present participants
- Participants who left the meeting
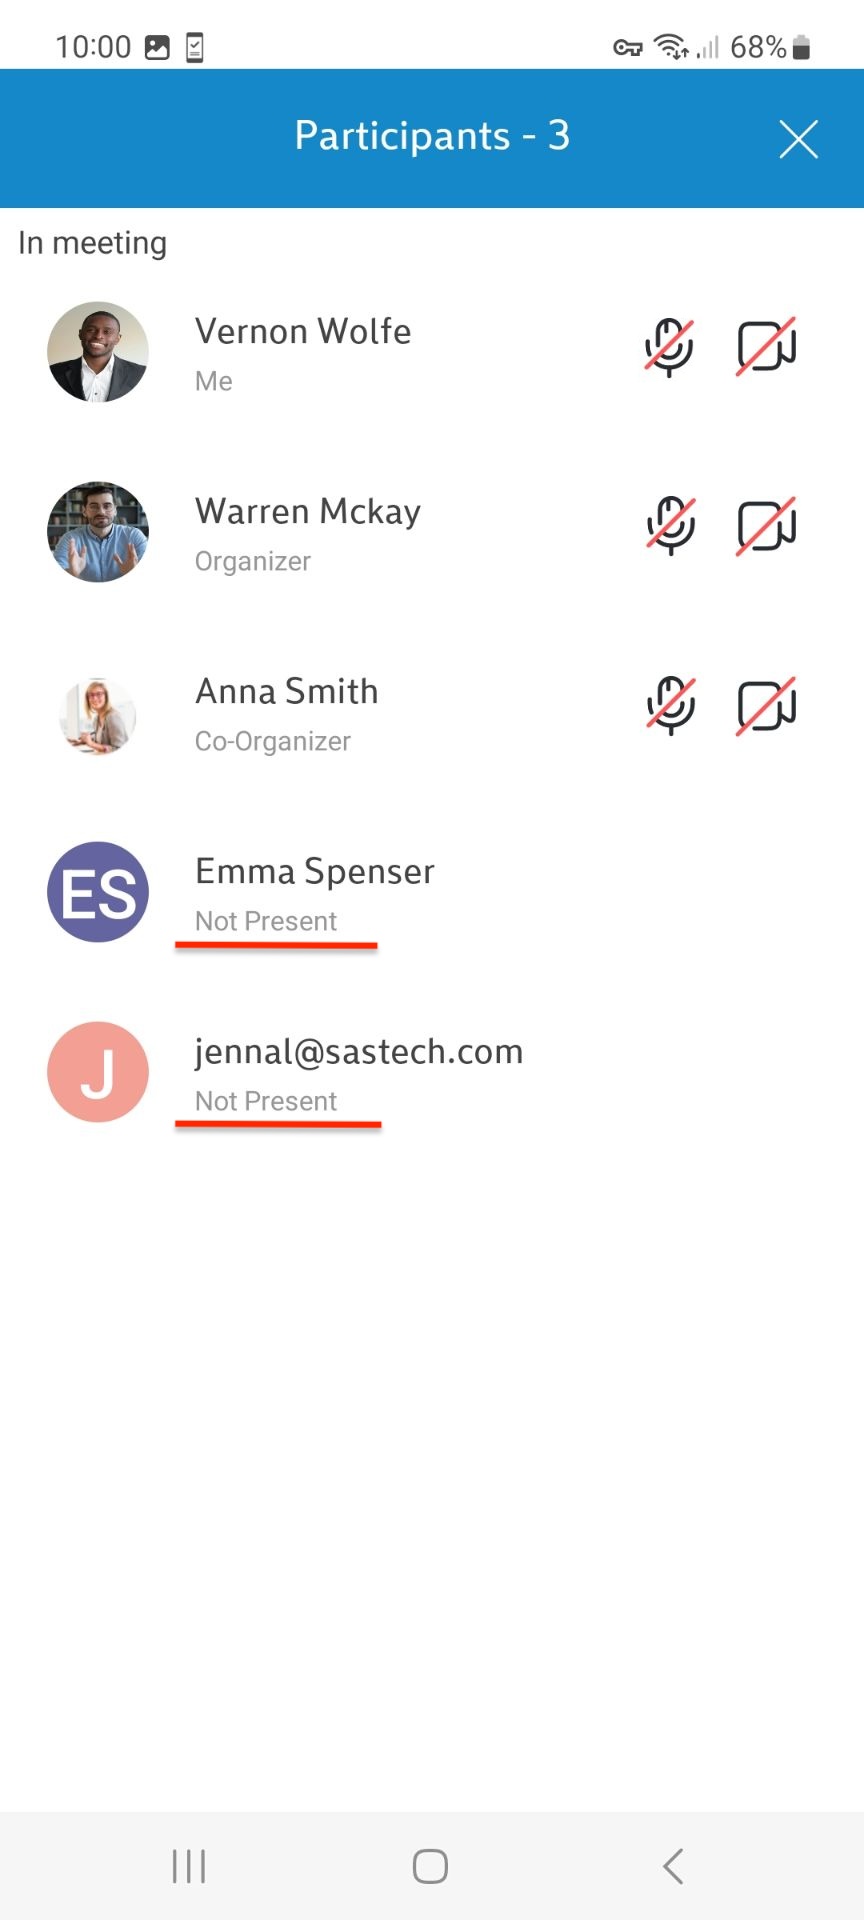
Invited participants who have not yet joined the meeting will be displayed with an email.
Participants who left the meeting will be displayed with their names.
If the participant had an avatar, this one would be displayed as well. If the participant is
an organizer or co-organizer, a corresponding label will be added.
All of these non-present participants will get a Not Present label. audio or video icons beside their names. As soon as a participant joins the meeting, this label is removed, and icons for video and audio are shown.
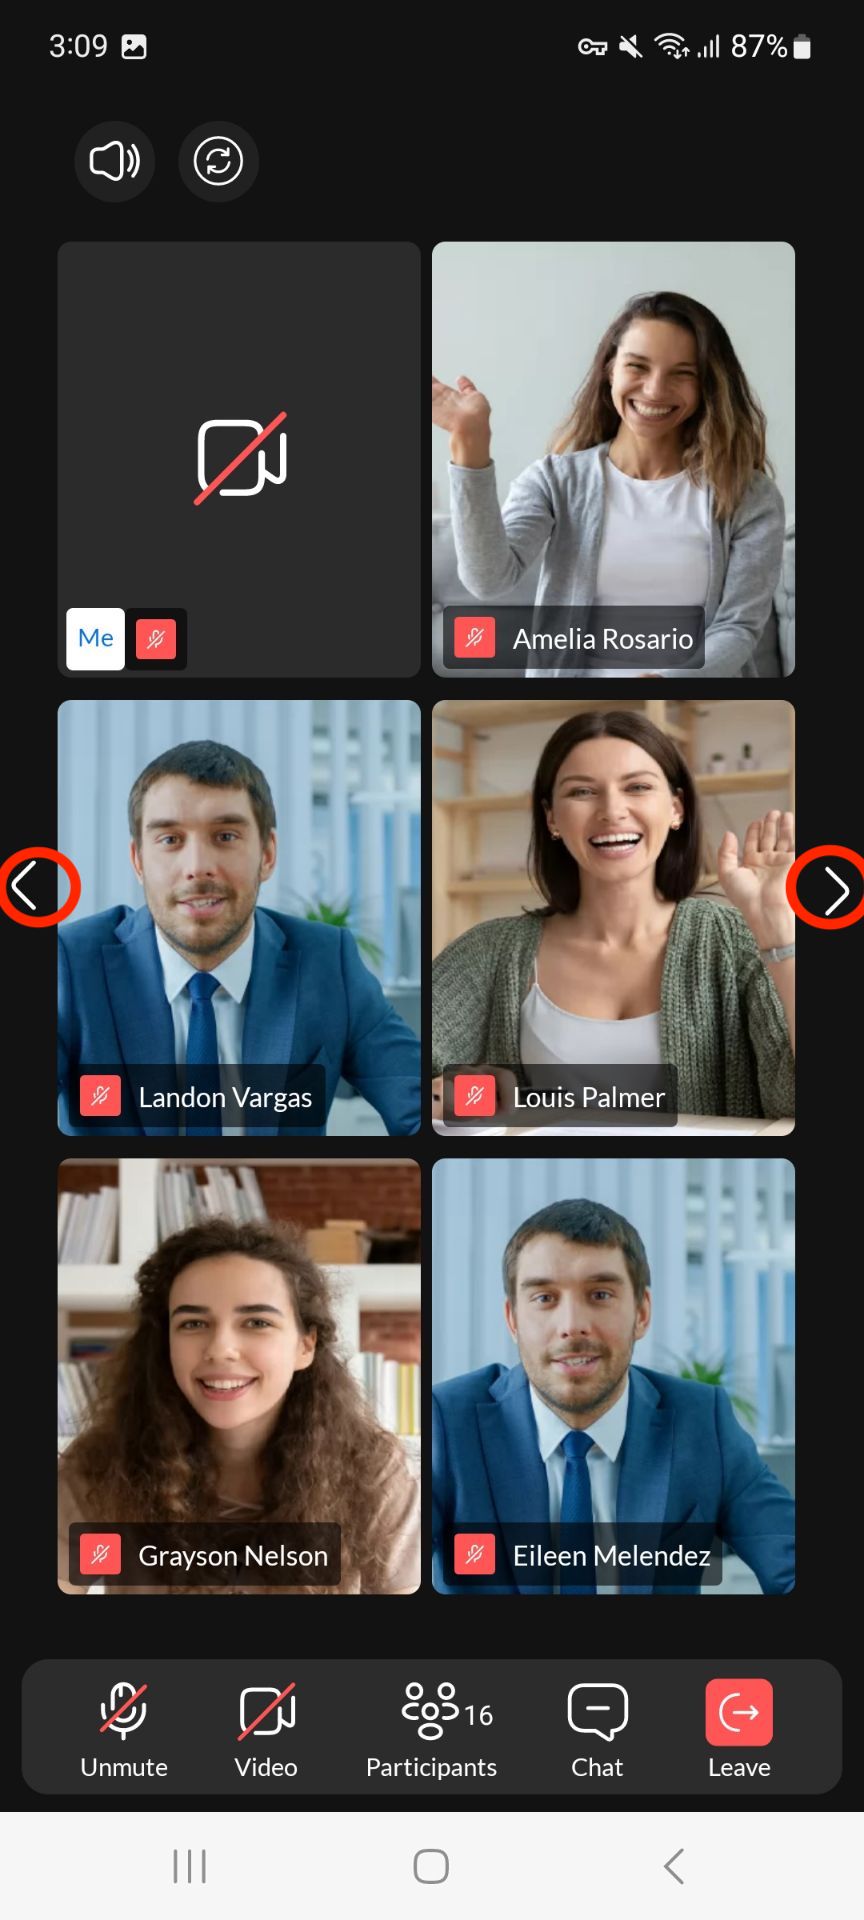
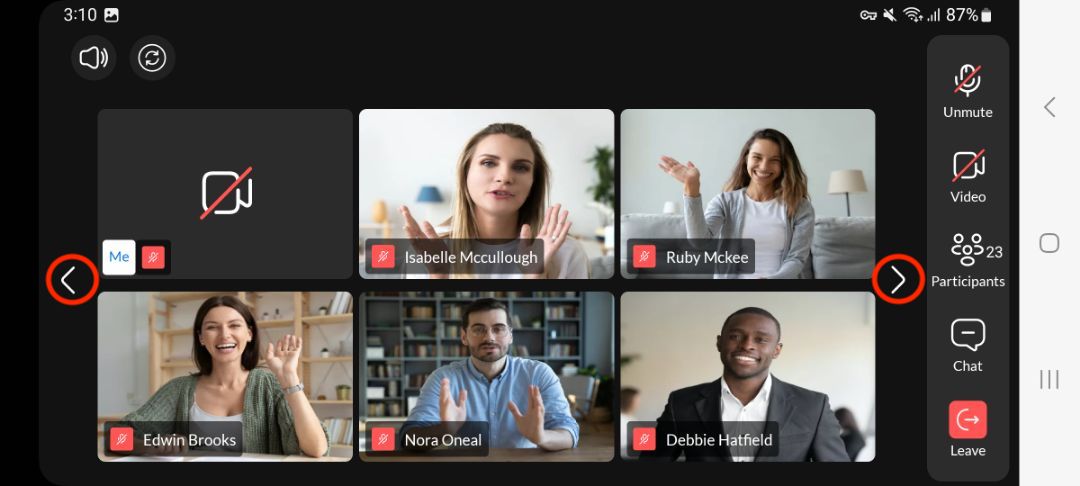
If there are more than six participants, a slide option will appear at the edge of the screen for listing screens left and right in order to see all participants.

¶ Reactions
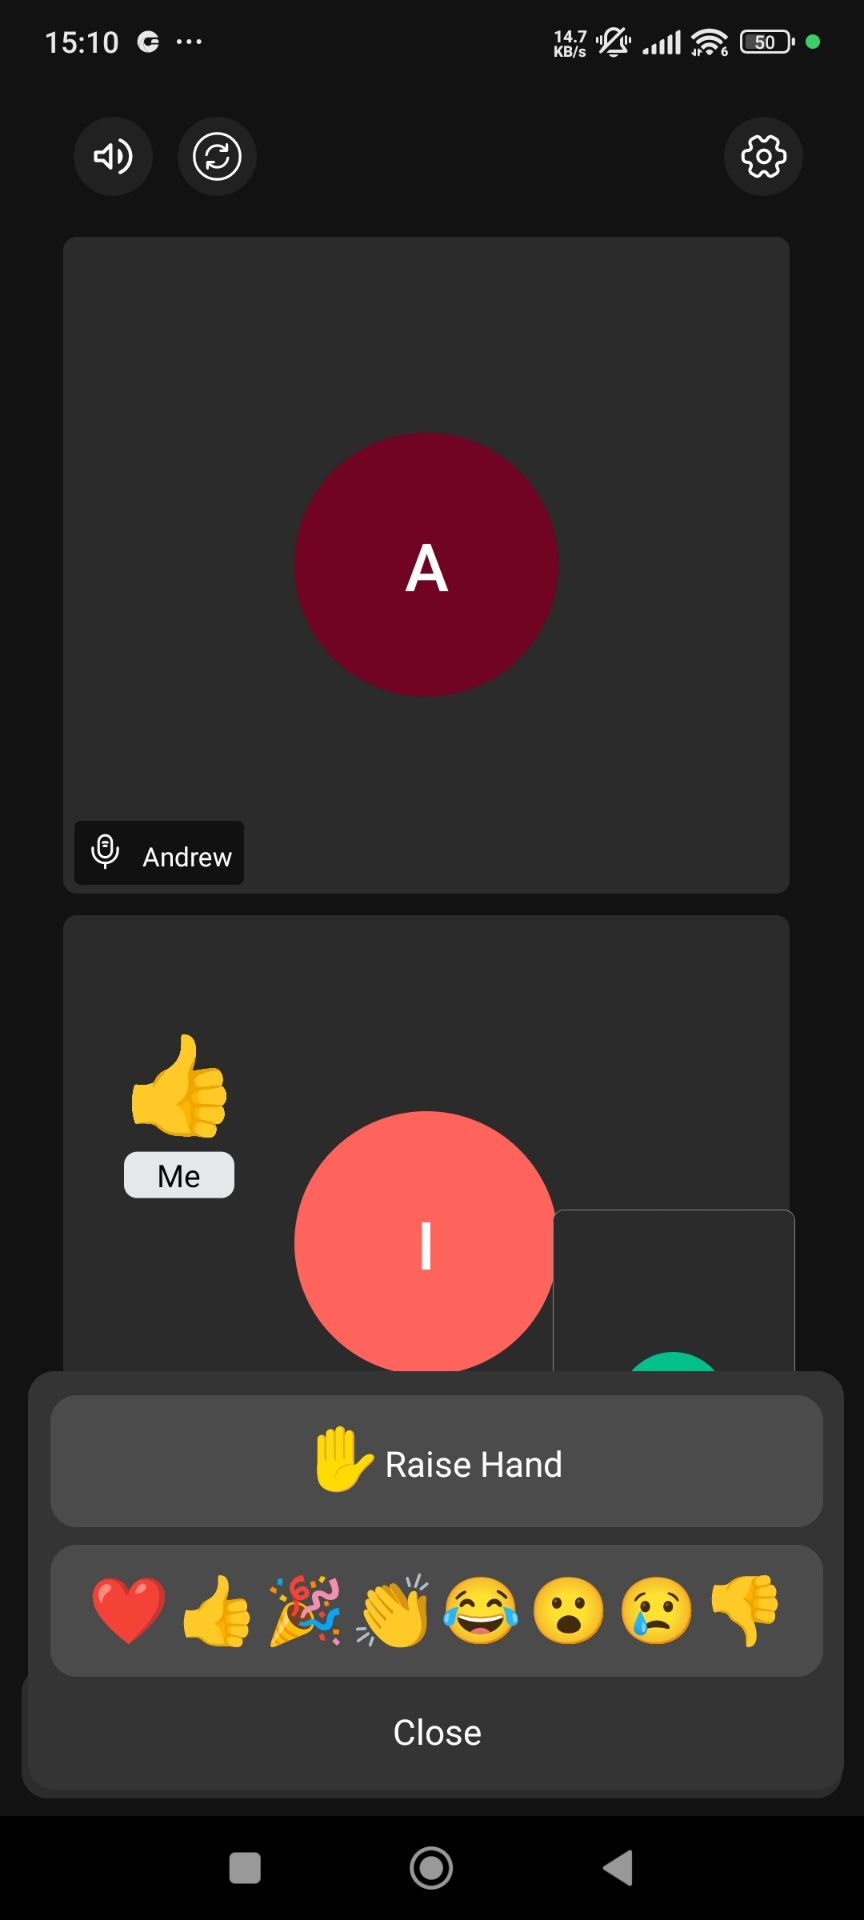
This feature allows users to react nonintrusively during the meeting, keeping conversations efficient and focused.
When the user presses a reaction, it appears on the screen and is visible to all meeting participants.
¶ Chat
When the user presses the chat button, they are redirected to the chat screen. While in chat, they can send and receive messages, including image and file messages.
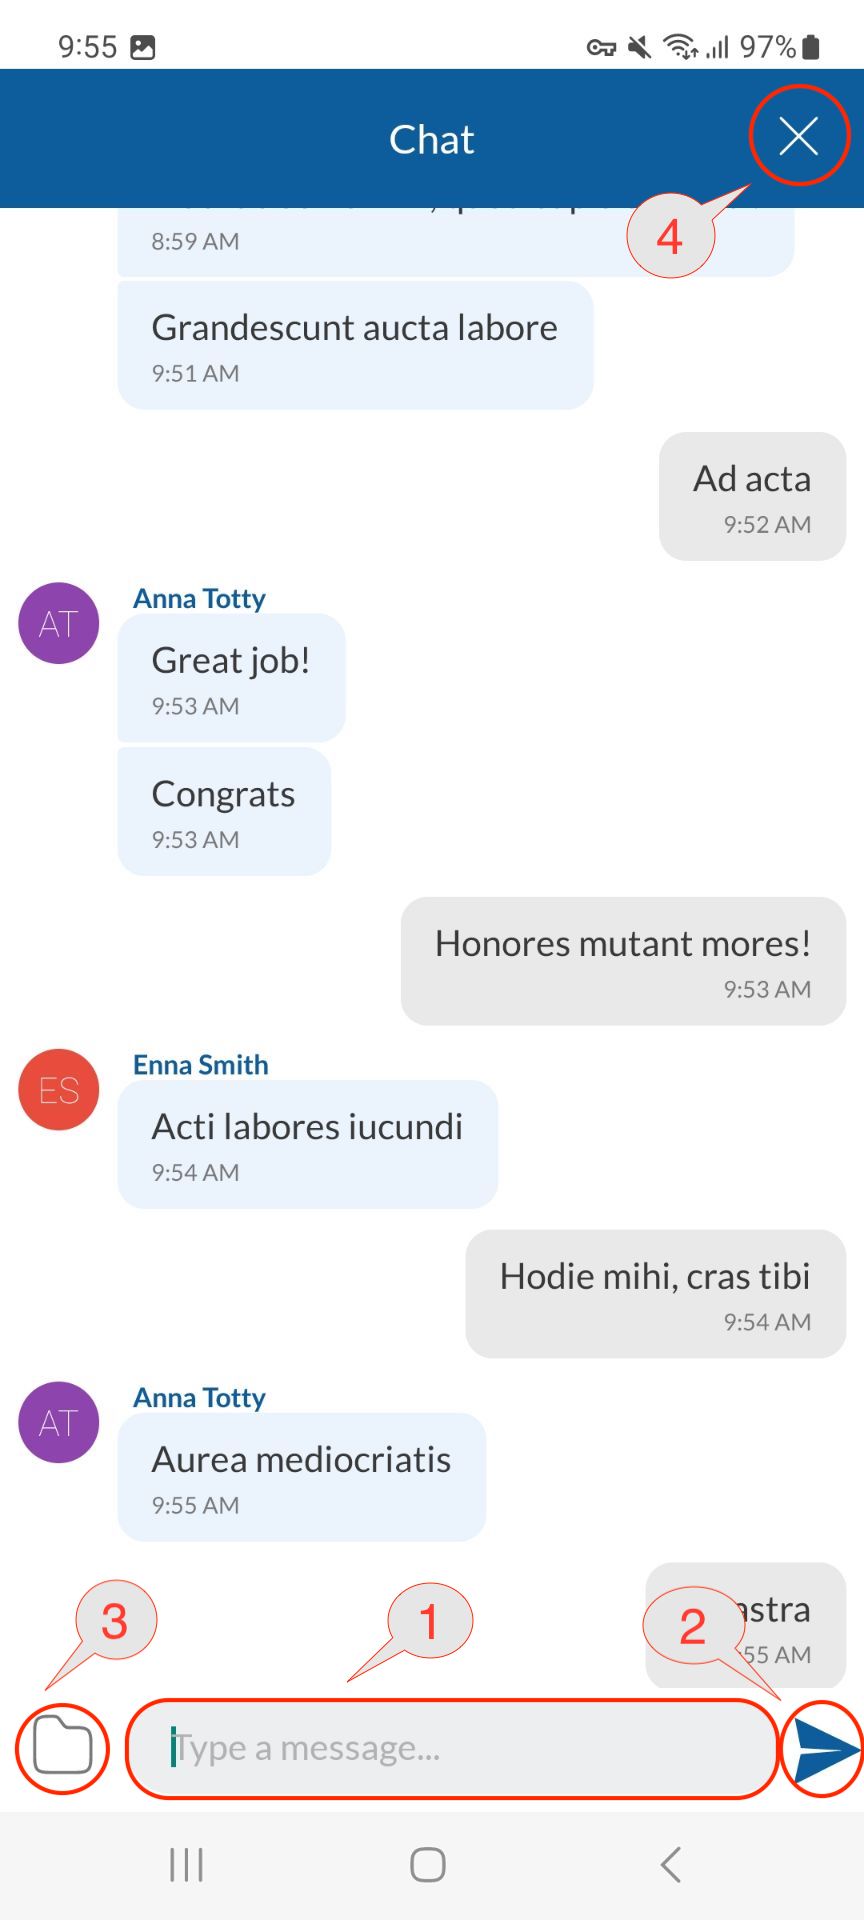
To write a message, the user needs to press on the text input field. After writing a message to send it, the user needs to press the send button.
To send a file, the user needs to press the clip button. After pressing the clip button, the file explorer will open. Then, the user needs to choose a file to send.
To send an image, the user needs to press the image button, which will be available after pressing 3 to send the file. After pressing the image button, the image explorer will be opened. Then, the user needs to choose an image to send. The user needs to press the exit button to exit the chat screen and return to the meeting screen.
¶ Leave Meeting
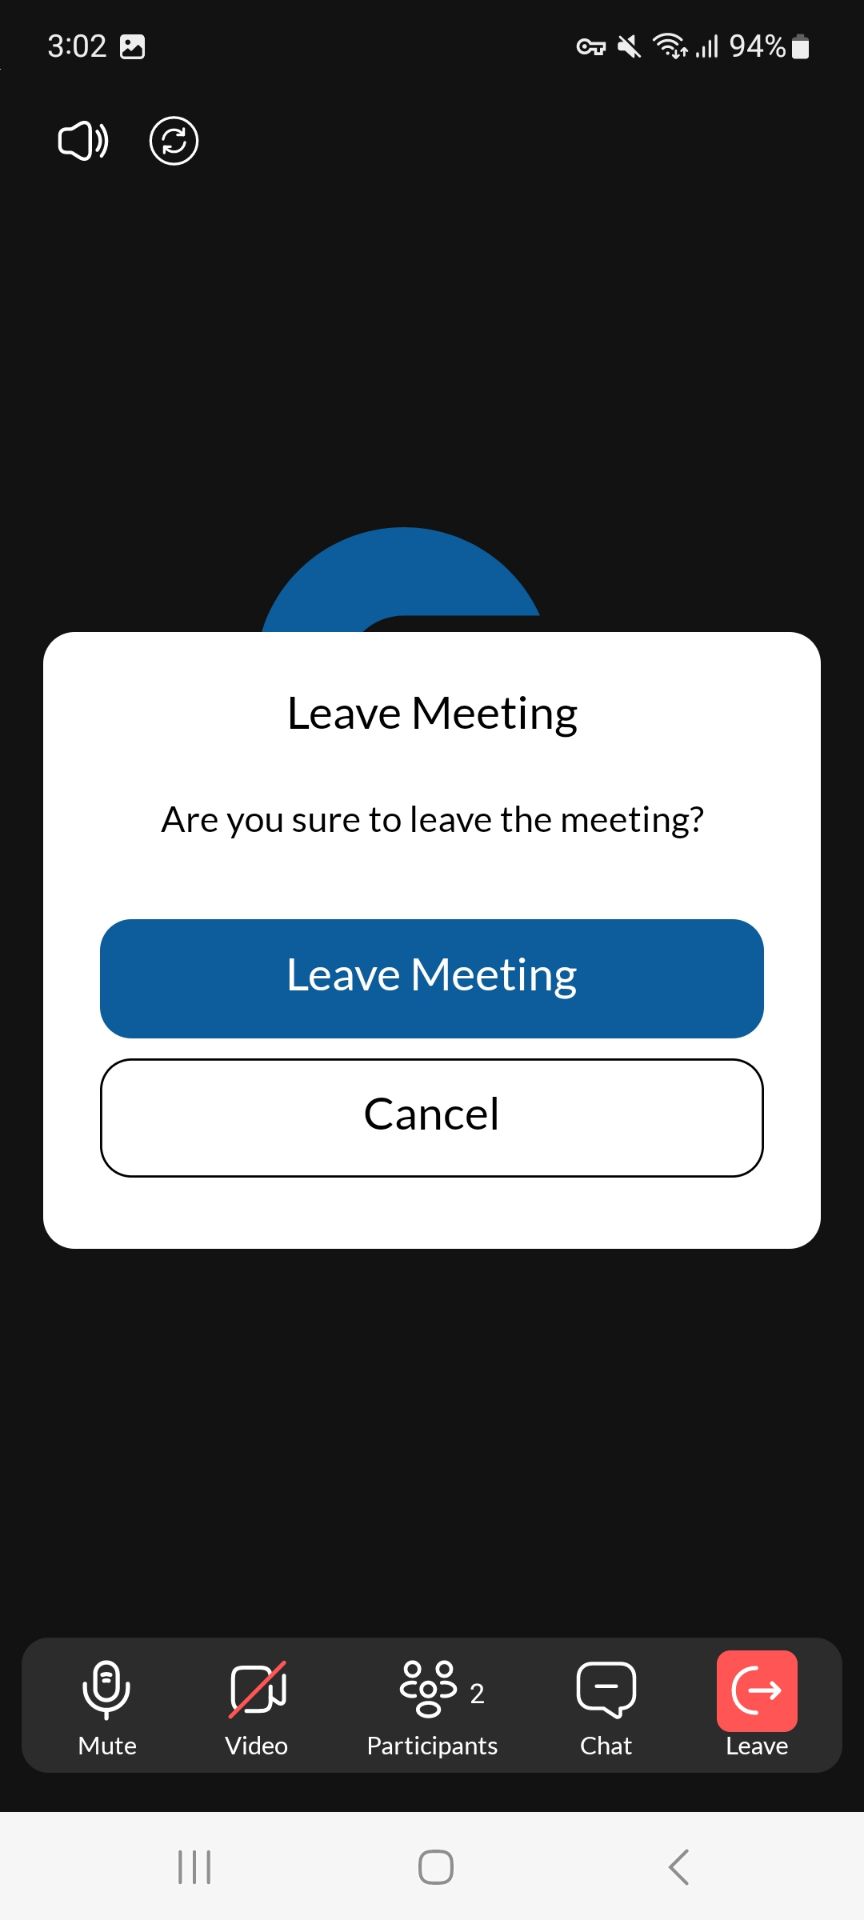
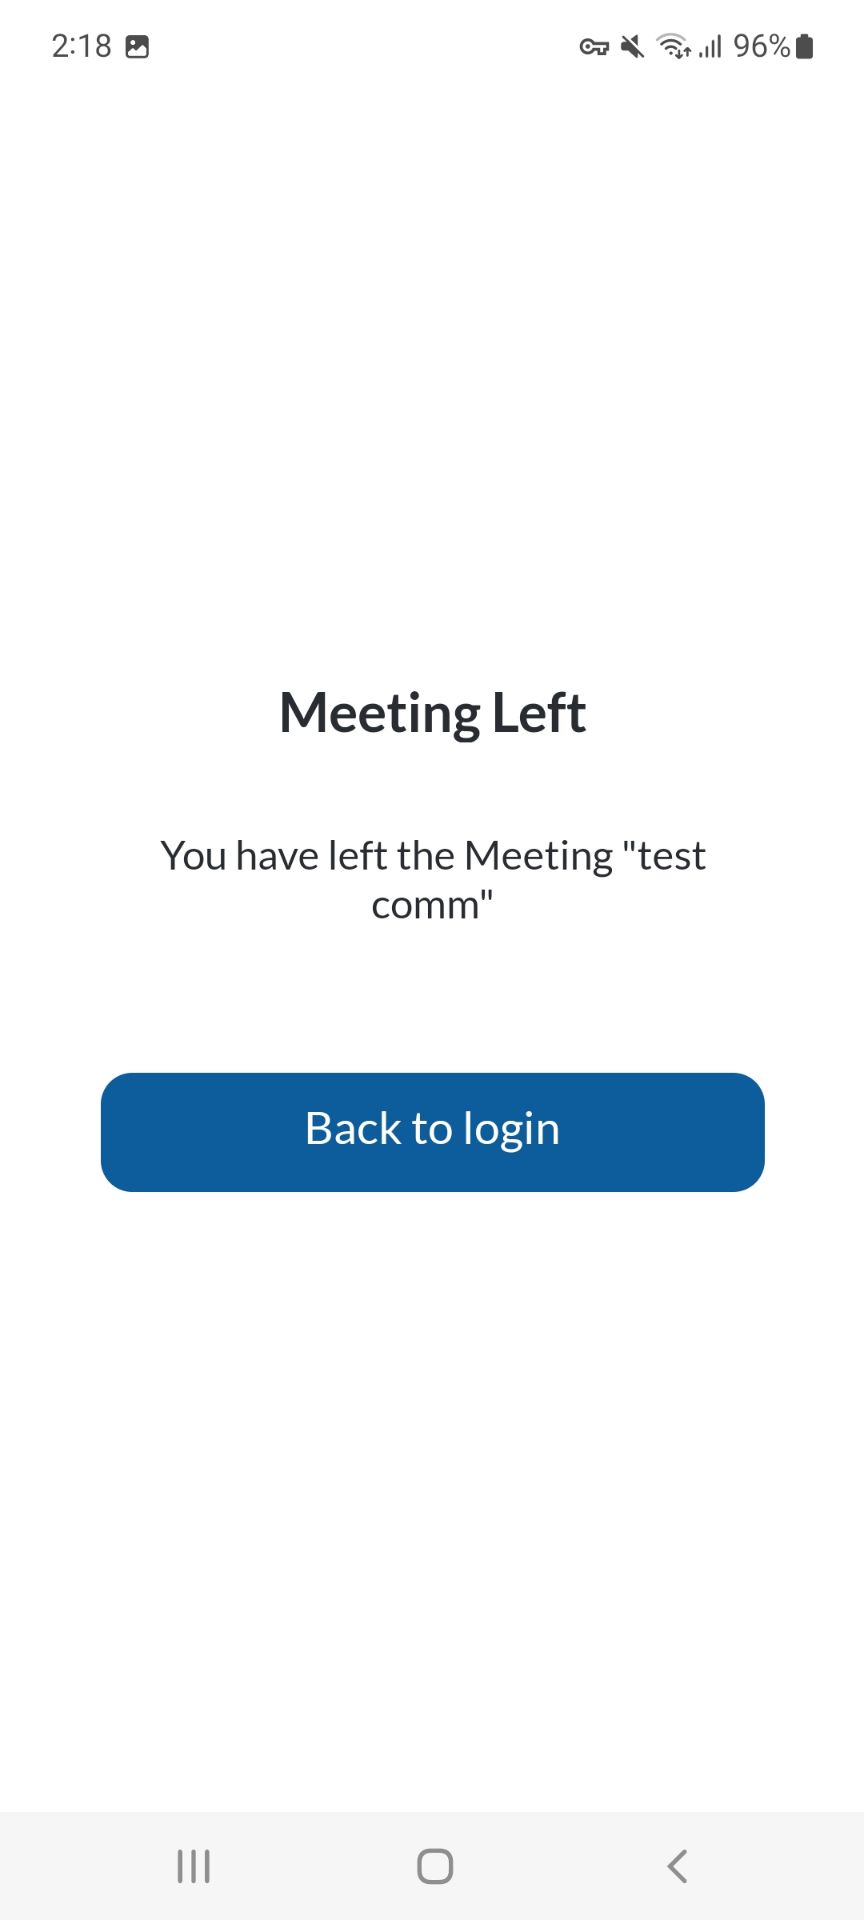
Users can leave a meeting by pressing the Leave Meeting button. An alert will pop up asking for confirmation, after which a notification will inform the users that they have left the meeting.
¶ Additional options
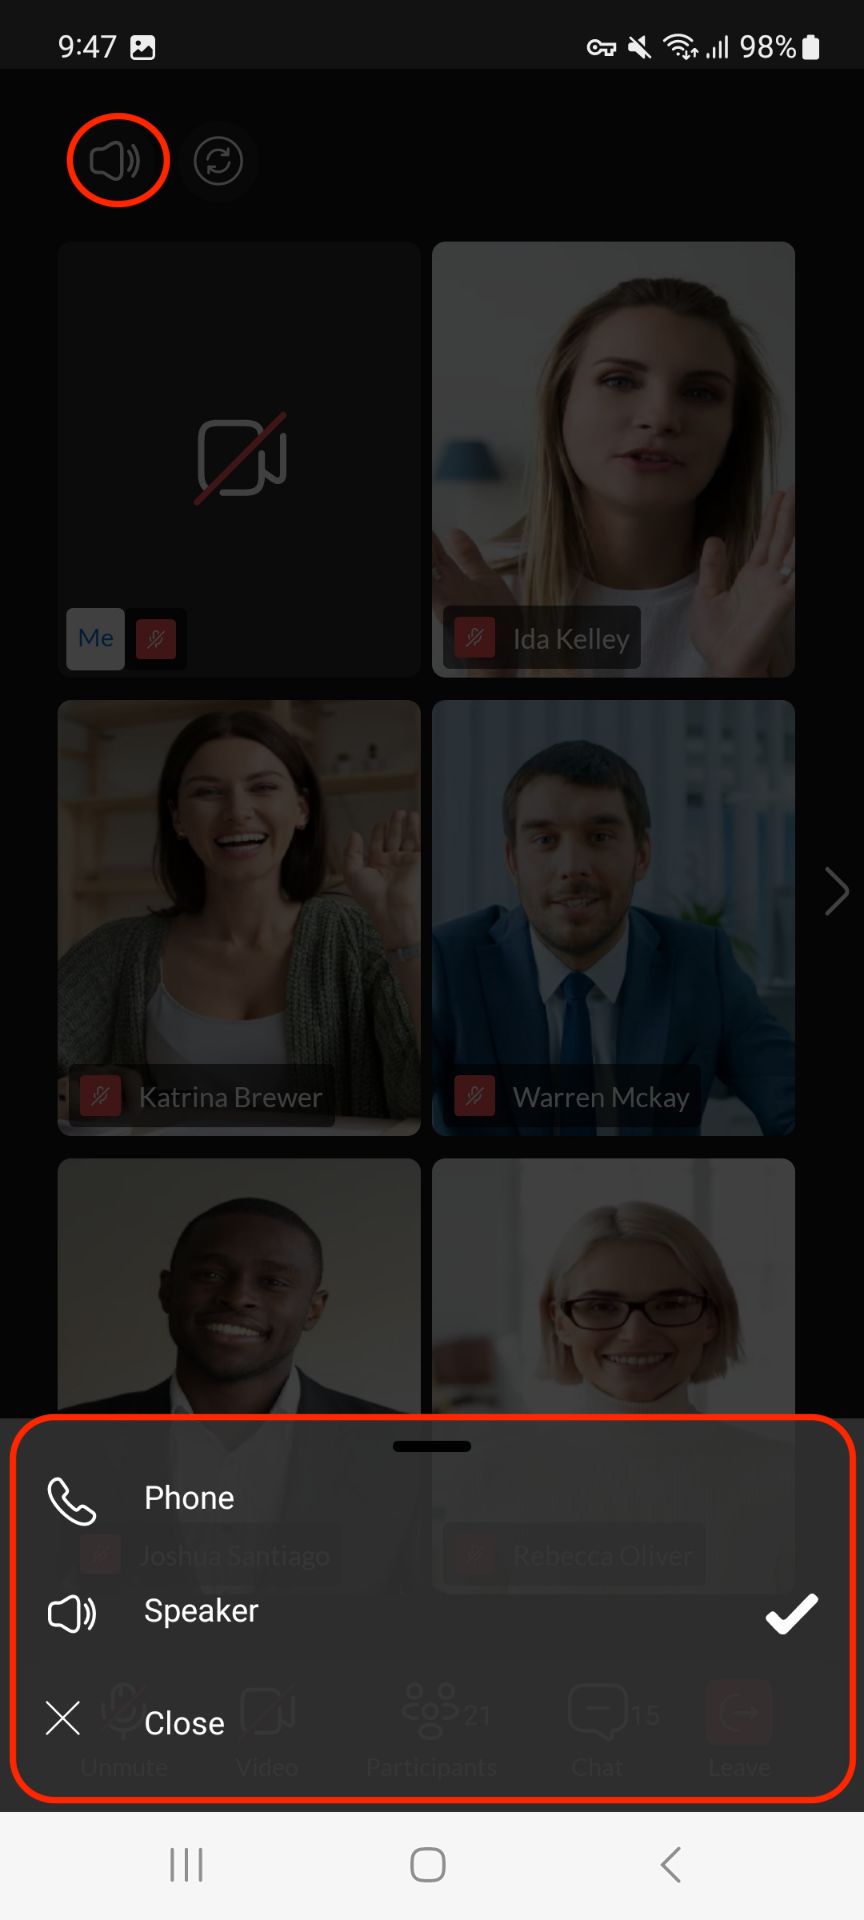
There are two more buttons in the top left corner of the screen. The first one is the speaker, which controls the specific audio output the user wants to use. By pressing the button, a new window appears allowing the user to choose between all connected audio devices.
The second button toggles between the front and back cameras. When video is enabled, pressing this button switches the camera.
Note: The meeting join buttons will be disabled until services are joined, which means that the user cannot change the button's state until the service is joined.
¶ Translation
This feature allows users to select their preferred application language. The following languages are supported: English (US), French, Italian, Portuguese (Brazilian), German and Spanish.
When users wish to change the language on the mobile app, they first close the app, then select and change the language in the device settings, and reopen the mobile app.
When a new language is selected, the meeting mobile app buttons, pop-up messages, and other options will be translated into that language.
¶ Pre-expiry notification
Pre-expiry notification is a feature designed to automatically send a notification to all meeting participants ten minutes before the end of the maximum meeting duration based on the type of license/package.
This notification is a reminder that the meeting is approaching its conclusion. If the message is not closed, it will automatically count down the time until the end of the meeting. If someone else joins the meeting less than ten minutes before the end, they will get a message with the exact time remaining for that meeting.
Note: This message appears only on the Meeting screen.
¶ Avatars
¶ Upload avatar as an external participant
This feature enables mobile users to upload and use their custom avatar on the Meeting GO app.
The Avatar button is added to the Meeting GO Join screen. Pressing this button opens a folder where the user can select the image for the avatar. The selected image will then be uploaded to the Join meeting screen and used as an avatar when a user joins a meeting.
![]()
![]()
![]()
![]()
¶ Avatars in a meeting
The mobile user's avatar will be displayed on the meeting screen, in the participant list, and in the chat. The mobile user will also see all other participants avatars from desktop, web, and mobile clients.
![]()
![]()
![]()
¶ End meeting option
This feature allows users who join a meeting as organizers or co-organizers from a mobile app to end a meeting.
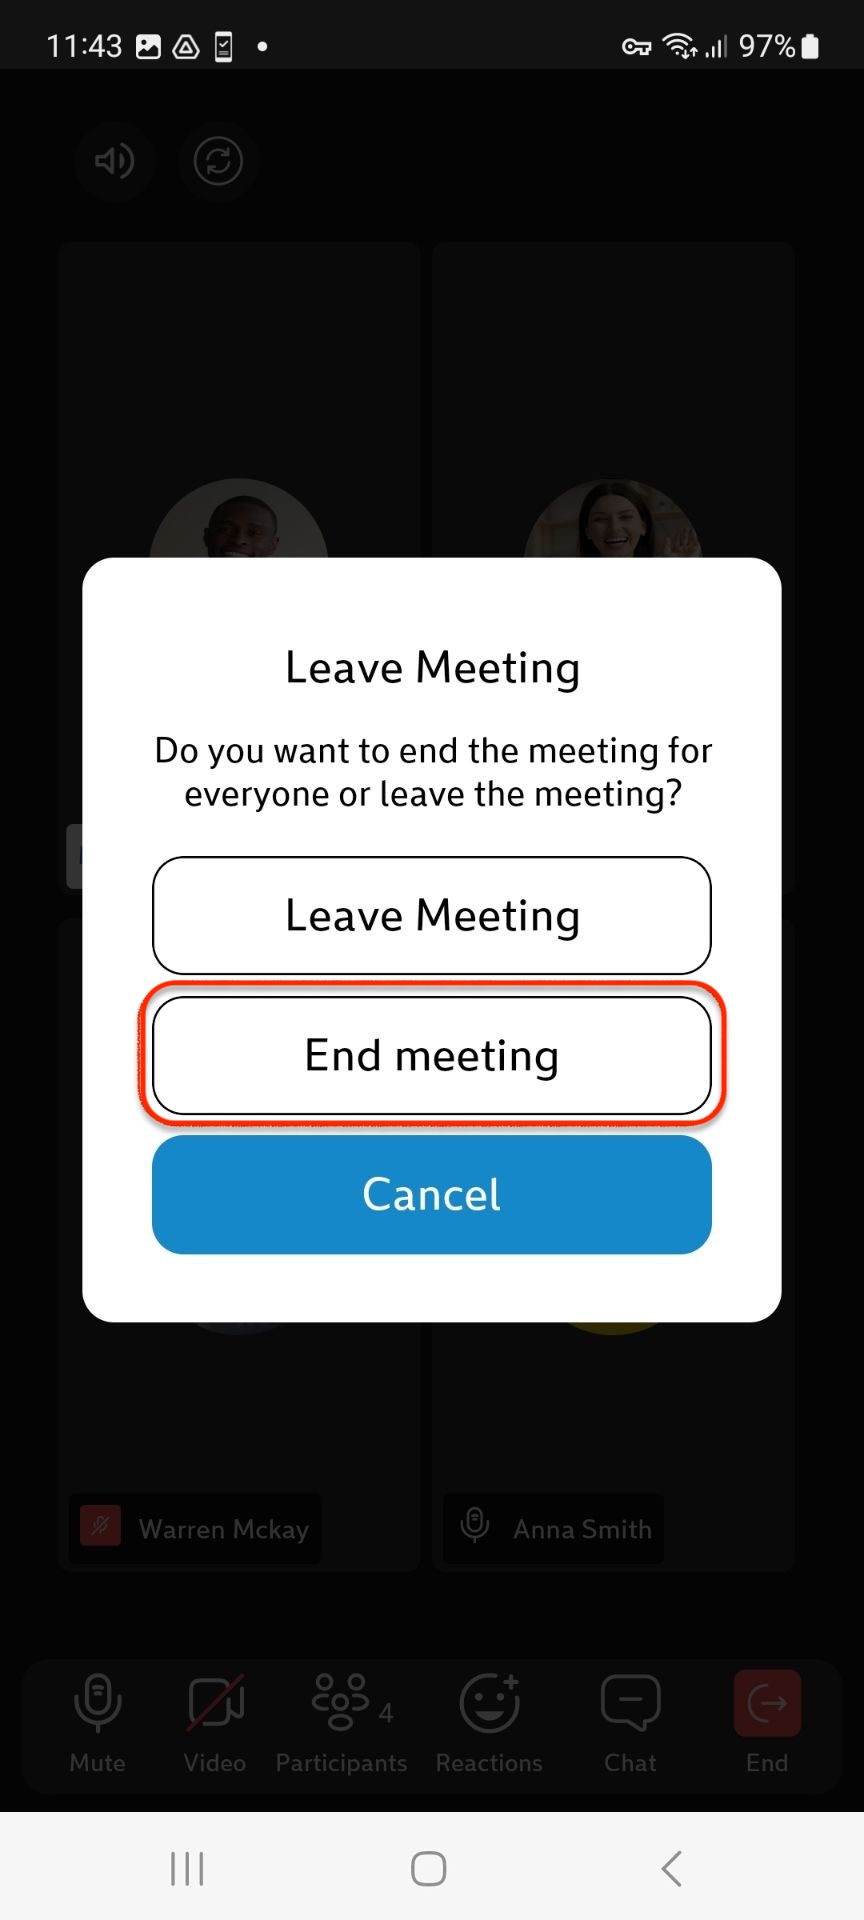
When users join a meeting as organizers or co-organizers from a mobile app, they will also have an End meeting button in the meeting main toolbar. When pressing on it, a new dialogue box appears offering the following options:
Leave meeting - leave a meeting
End Meeting - end meeting for all participants
Cancel - cancel the action and return to the meeting
Note: If a user joins a meeting as a regular participant (not organizer or co-organizer), the End Meeting option will not be available.
