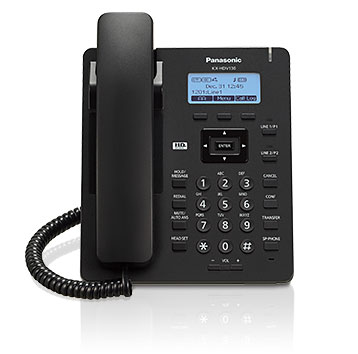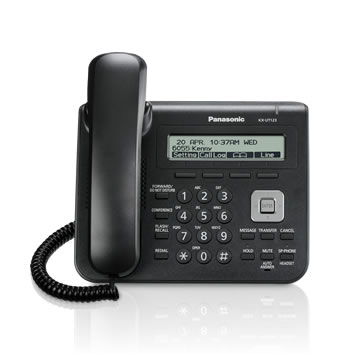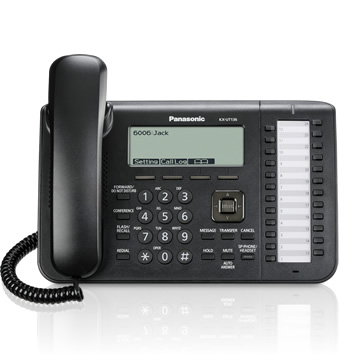


This User Guide is written as general guide on how to set up Panasonic phone models:
- KX-HDV130
- KX-UT113
- KX-UT123
- KX-UT133
- KX-UT136
¶ Supported Features
- Basic authentication support
- Codecs
- DHCP
- DTMF mode
- Max lines per device limit
- Max BLF keys (not all devices)
- Timezone, Daylight Saving time support (via Voicemail Timezone)
- General UAD config
- Additional UAD configuration (per extension)
¶ Not supported
- Directory list
¶ Registering Phone
This chapter describes how to register your Panasonic phone using manual configuration or auto provisioning.
The following topics are covered:
- Manual Configuration
- Auto Provisioning
¶ Manual Configuration
This chapter describes how to create PBXware extension and manually register the phone to PBXware using Hostname or IP Address.
- Open a new browser window and enter PBXware IP address/domain name in order to access PBXware web administration login screen. Example: http://192.168.1.10.
- Login to PBXware with administrator e-mail address and password.
¶ Creating Extension

Creating Extension
1. Add Extension
- Navigate to Extensions. Click on Add Extension.
- The standard options window will be shown below.
- Select Generic SIP from the UAD dropdown list.
- Select Location: Local or Remote.
Local is for all extensions registering from same LAN as PBXware and Remote is for all extensions registering from remote networks, WAN, Internet etc.
- Click on the Next step button.
2. Extension values
Enter values into the required field text boxes.
REQUIRED FIELDS:
- Name
Enter a name for the extension being created. Example: John Smith.
Enter the e-mail address associated with this extension. This e-mail address will receive all system notification messages. Example: john.smith@bicomsystems.com .
- Click on Save button.
¶ Registering Phone
This chapter describes how to register Panasonic phone using Hostname or IP Address.
NOTE: All Panasonic SIP Phones have web interface access disabled by default and in order to use it to setup your phone, it must be enabled from device itself. However, on each phone reboot this setting will turn off and in case administrator need to use web interface it will have to be enabled once more. To enable web interface access on your Panasonic KX-UT series, press Setup # 5 3 4 and Embedded web setting should be displayed, select On and press Enter button to apply changes. For KX-HDV series, procedure is somewhat different. To enable web interface access press MENU, scroll down to Basic Settings and press OK. Now scroll down to Embedded Web and press OK, select On and press OK. This should allow you to access your Panasonic settings on web interface.
1. Login to phone web administration interface
- Open a new browser window and enter your phone IP address in order to access the phone web administration interface login screen. Example: http://192.168.1.22
- Login to phone web administration interface with administrator username and password. Please note, factory default login details are username: admin and password: adminpass.
Klick VoIP tab and in left panel under SIP settings click Line 1 to set up first line on your Panasonic device to register to PBXware.
REQUIRED FIELDS:
Phone Number
- Phone Number
Enter PBXware extension number you would like to register your device to.
SIP Server
- Registrar Server Address
Enter PBXware address used for registration.
- Proxy Server Address
Enter your PBXware address.
- Presence Server Address
Enter your PBXware address used to provide presence information to SIP devices.
SIP Authentication
- Authentication ID
Enter PBXware extension number you would like to register your device to.
- Authentication Password
Enter password for corresponding PBXware extension to authenticate your device with. Password can be found in Secret field in extensions settings on PBXware.
¶ Auto Provisioning
This chapter describes how to set up UAD settings for your device, create PBXware extension and register the phone using DHCP or Static IP address.
The following topics are covered:
- UAD Settings
- Creating Extension
- Registering Phone
¶ UAD Settings

UAD settings
1. Login to PBXware web administration interface
- Open a new browser window and enter the IP address in order to access the PBXware web administration login screen. Example: http://192.168.1.10.
- Login to PBXware with your e-mail address and password.
2. UAD settings
- Navigate to Settings -> UAD.
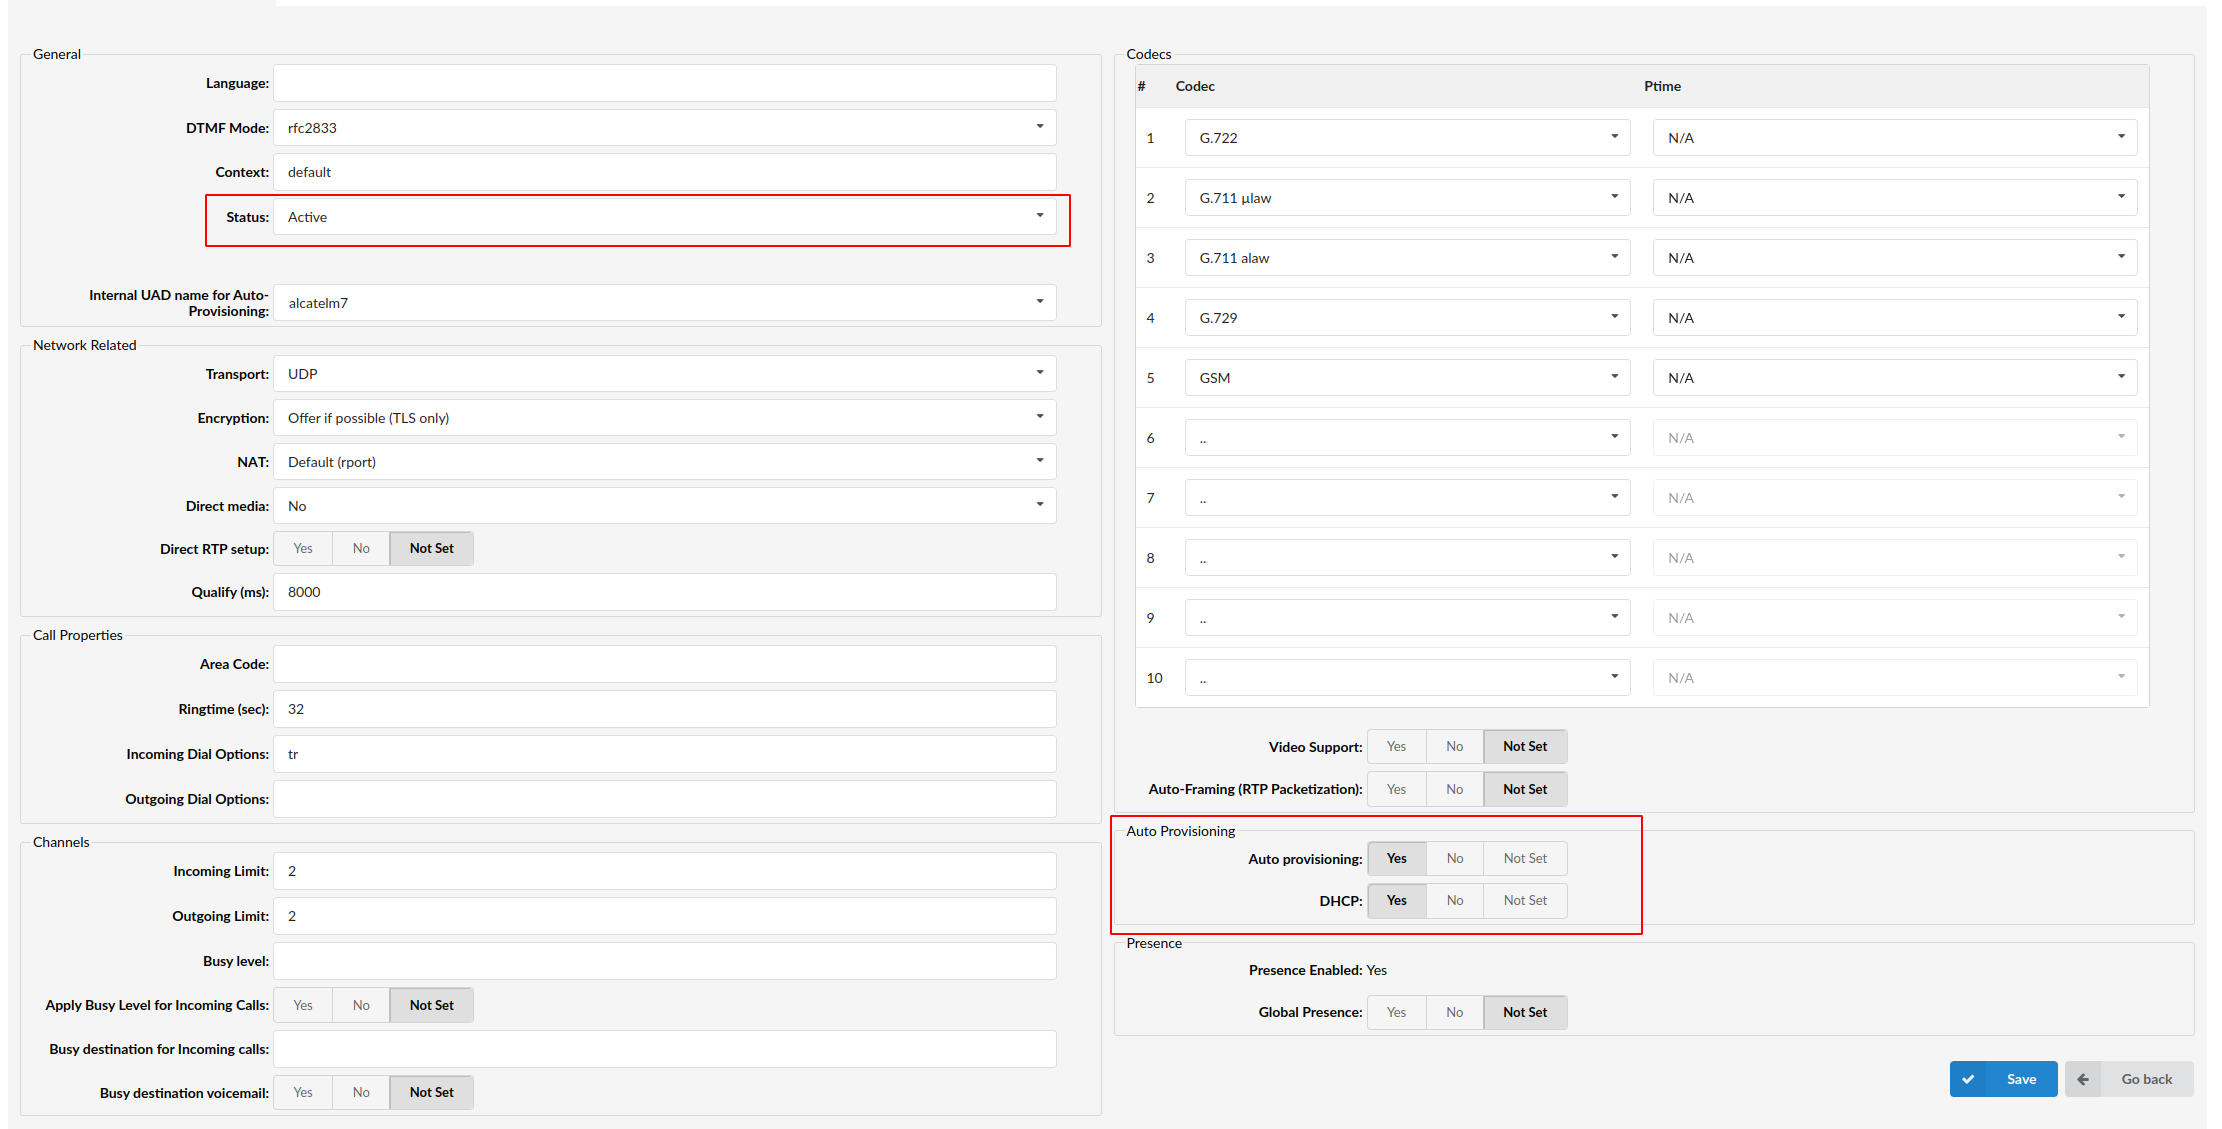
- Make sure corresponding Panasonic UAD is enabled. To check the UAD status click on the edit icon next to your Panasonic phone model.
- Make sure Status is set to Active, Auto provisioning is set to Yes, and DHCP is set to Yes.
- Click on the Save button to save changes.
¶ Creating Extension
Creating Extension
1. Add Extension
- Navigate to Extensions. Click on Add Extension.
- The standard options window will be shown below.
- Select Panasonic phone model from the UAD select box.
- Select Location: Local or Remote.
Local is for all extensions registered on the LAN and Remote is for all extensions registered from remote networks, WAN, Internet etc.
- Click on the Next step button.
2. Extension values
Enter values into the required field text boxes.
REQUIRED FIELDS:
- Name
Enter a name for the extension being created. Example: John Smith.
Enter the e-mail address associated with this extension. This e-mail address will receive all system notification messages. Example: john.smith@bicomsystems.com
- Auto Provisioning

MAC Address
Make sure Auto Provisioning is set to Yes.
- MAC Address
Enter Panasonic phone MAC address. Example: 00080F0C8DXXX. MAC address can be found at the back of the phone or in phones web interface under Network Status.
- Click Save button to preserve changes.
¶ Registering Phone
1. Login to phone web administration interface
NOTE: All Panasonic SIP Phones have web interface access disabled by default and in order to use it to setup your phone, it must be enabled from device itself. However, on each phone reboot this setting will turn off and in case administrator need to use web interface it will have to be enabled once more. To enable web interface access on your Panasonic KX-UT series, press Setup # 5 3 4 and Embedded web setting should be displayed, select On and press Enter button to apply changes. For KX-HDV series, procedure is somewhat different. To enable web interface access press MENU, scroll down to Basic Settings and press OK. Now scroll down to Embedded Web and press OK, select On and press OK. This should allow you to access your Panasonic settings on web interface.
If there is no DHCP in your network, you can still auto provision your Panasonic phone. Please refer to your Panasonic User Guide for instruction about setting static IP address. After you configure your devie phone to use a static IP address, continue with the following steps.
- Open a new browser window and enter your phone IP address in order to access the phone web administration interface login screen. Example: http://192.168.1.22.
- Login to the phone web administration interface with your username and password. Please note, factory default login details are username: admin and password: adminpass.
¶ HTTP Provisioning
HTTP Provisioning offers additional layer of security compared to TFTP so it is recommended to use it when provisioning Panasonic devices.
NOTE: In order to use HTTP provisioning you must set up HTTP Username and HTTP password on PBXware. To do that, log in to your PBXware GUI and navigate to:
HTTP Username and HTTP Password are set under:
Settings -> Servers -> YourServerName (edit) -> Auto Provisioning (section) -> HTTP Username/HTTP Password
On Multi-tenant PBXware HTTP username and password are set per tenant:
HTTP Username and HTTP Password are set under:
Settings -> Servers -> TenantName (edit) -> Auto Provisioning (section) -> HTTP Username/HTTP Password
- Once you are logged in your phones web interface click Maintenance tab and then click Provisioning Maintenance in left pane. Make sure Enable Provisioning is set to Yes and enter your PBXware address in Standard File URL field.
For HTTP provisioning link must be in this form:
http://username:password@192.168.1.1/prov/{mac}.cfg
Replace username and password with Your http username and http password, 192.168.1.1 with your PBXware IP address or domain name and click Save to preserve changes and initiate auto provisioning.
- Once you click Save button your phone will reboot and send request for auto provisioning configuration file to PBXware. If all settings are configured properly phone should receive the configuration file and register to assigned extension once it boots up. To make sure everything works fine you can dial *123 to see if you will get into the voicemail sound prompt.
¶ TFTP Provisioning
TFTP provisioning does not require setting up HTTP username and password on PBXware and also you don't have to enter these credentials in the phone.
- After you set up extension as explained above, log in to your phone web interface, click Maintenance tab and then click Provisioning Maintenance in left pane. Make sure Enable Provisioning is set to Yes and enter your PBXware address in Standard File URL field.
For TFTP provisioning link must be in this form:
tftp://192.168.1.1/{mac}.cfg
- Replace 192.168.1.1 with your PBXware IP address or domain name and click Save to preserve changes and initiate auto provisioning.
- Once you click Save button your phone will reboot and send request for auto provisioning configuration file to PBXware. If all settings are configured properly phone should receive the configuration file and register to assigned extension once it boots up. To make sure everything works fine you can dial *123 to see if you will get into the voicemail sound prompt.
Once you are able to get to voicemail prompt your phone configuration is finished and you should be able to make and receive calls.